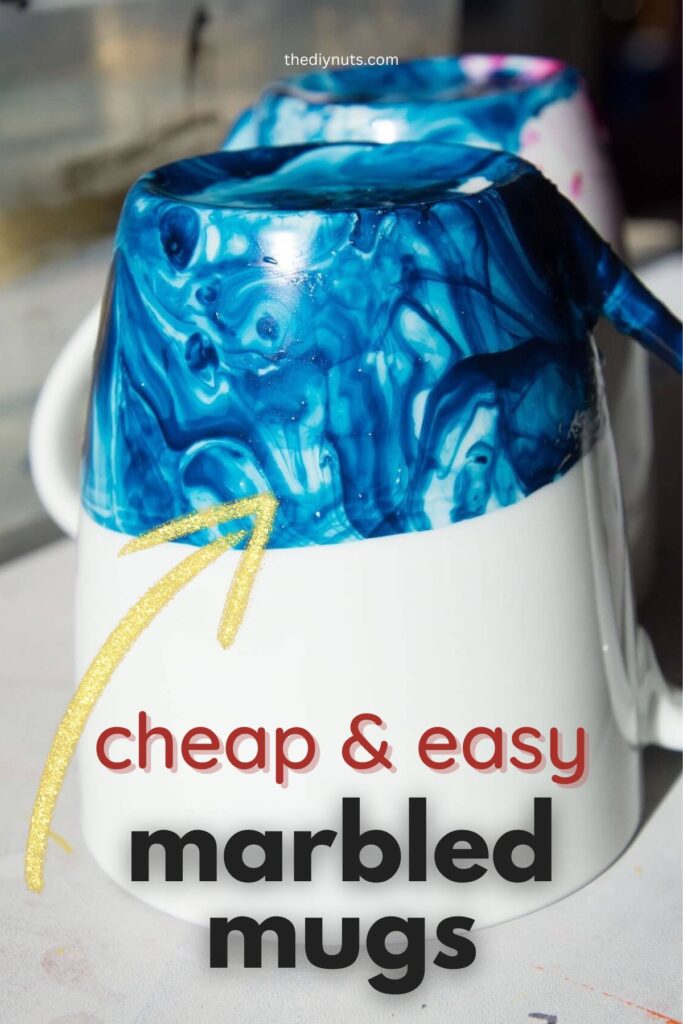

Are you looking for a fun craft idea that can be done in minutes and costs under $3? This DIY marble mug craft is for you. Learn how to make awesome marble mugs using nail polish.
*Disclosure: I only recommend products I would use myself and all opinions expressed here are our own. This post may contain affiliate links that at no additional cost to you, I may earn a small commission. Read our full privacy policy.
We love creating a fun marble effect on all sorts of items. From easily painted flower pots design to holiday decor items. The fun effect you get is fun for all sorts of home decor items and these mugs are no exception.
Table of Contents
Recommended Supplies
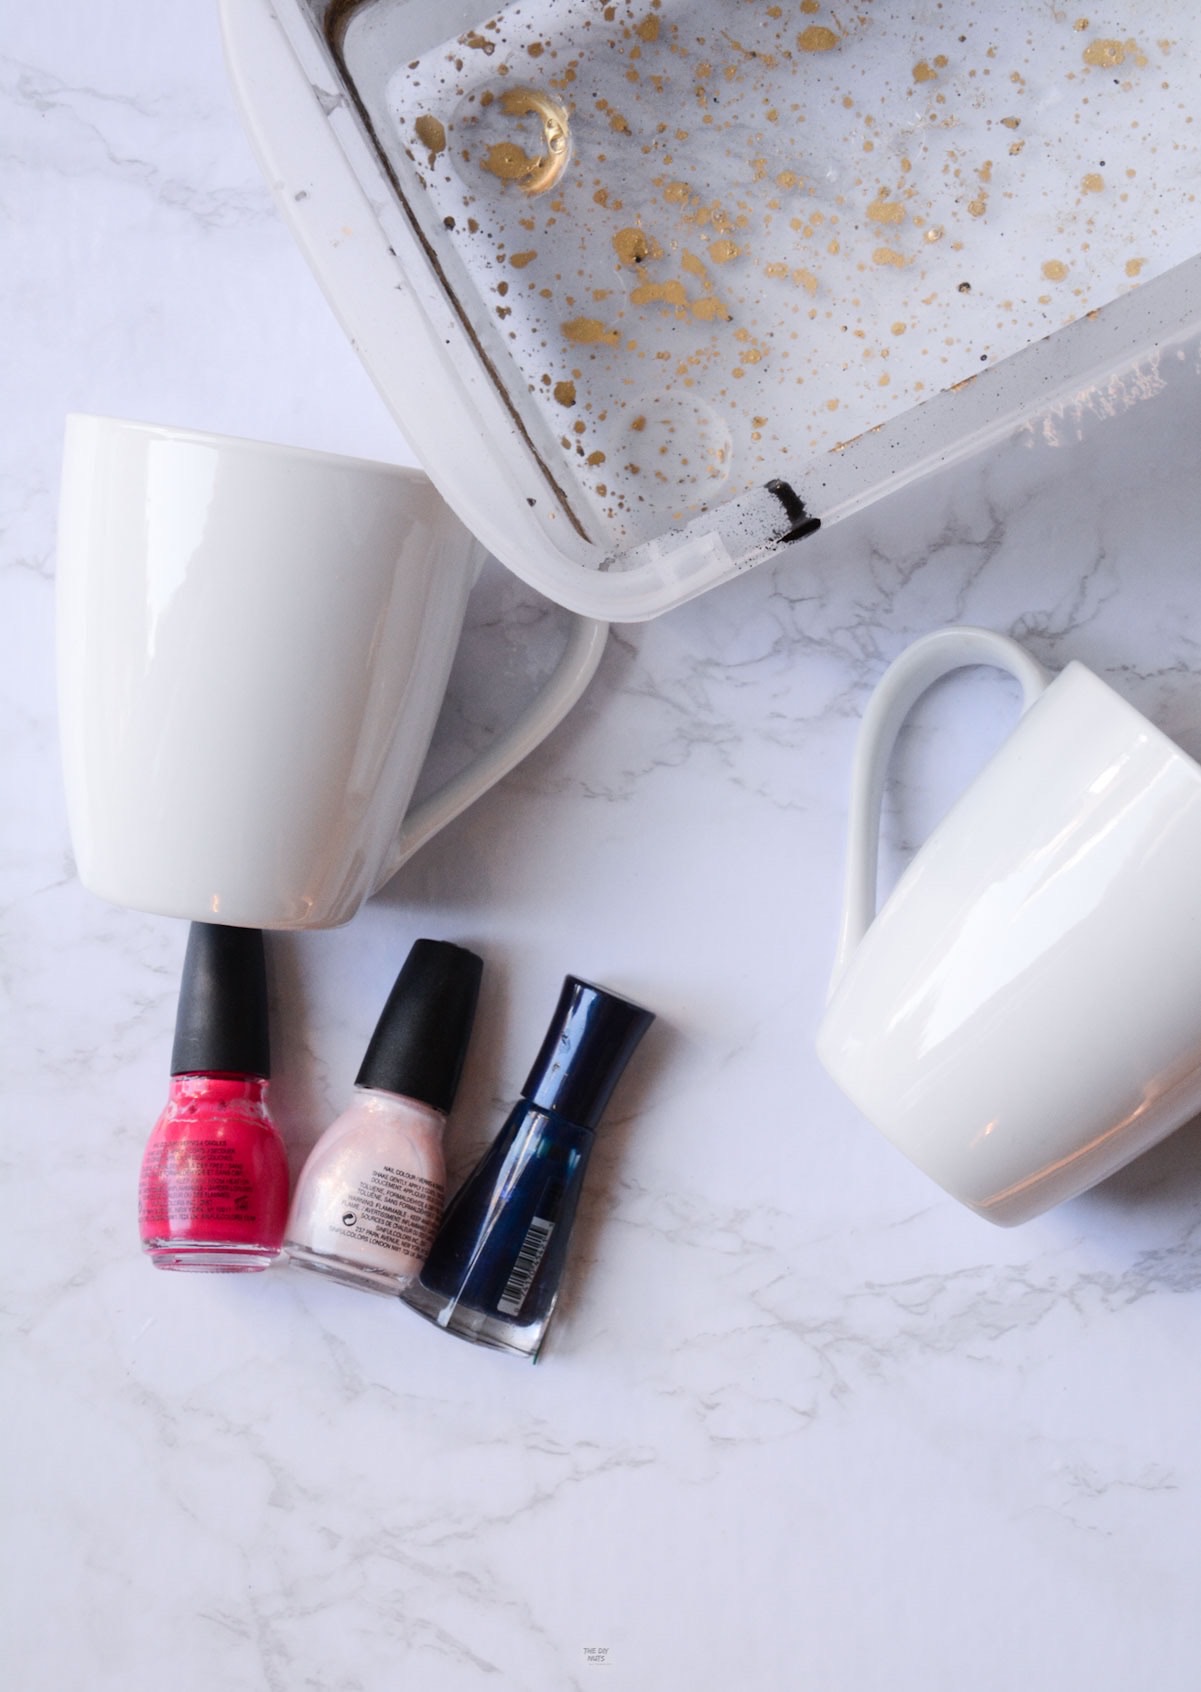
- Nail Polish (you can use 1 color or 2 different colors together)
- Skewer or Toothpick
- Old Container Filled With Warm to Hot Water
- White Ceramic Mug
- Nail Polish Remover (optional if you make a mistake)
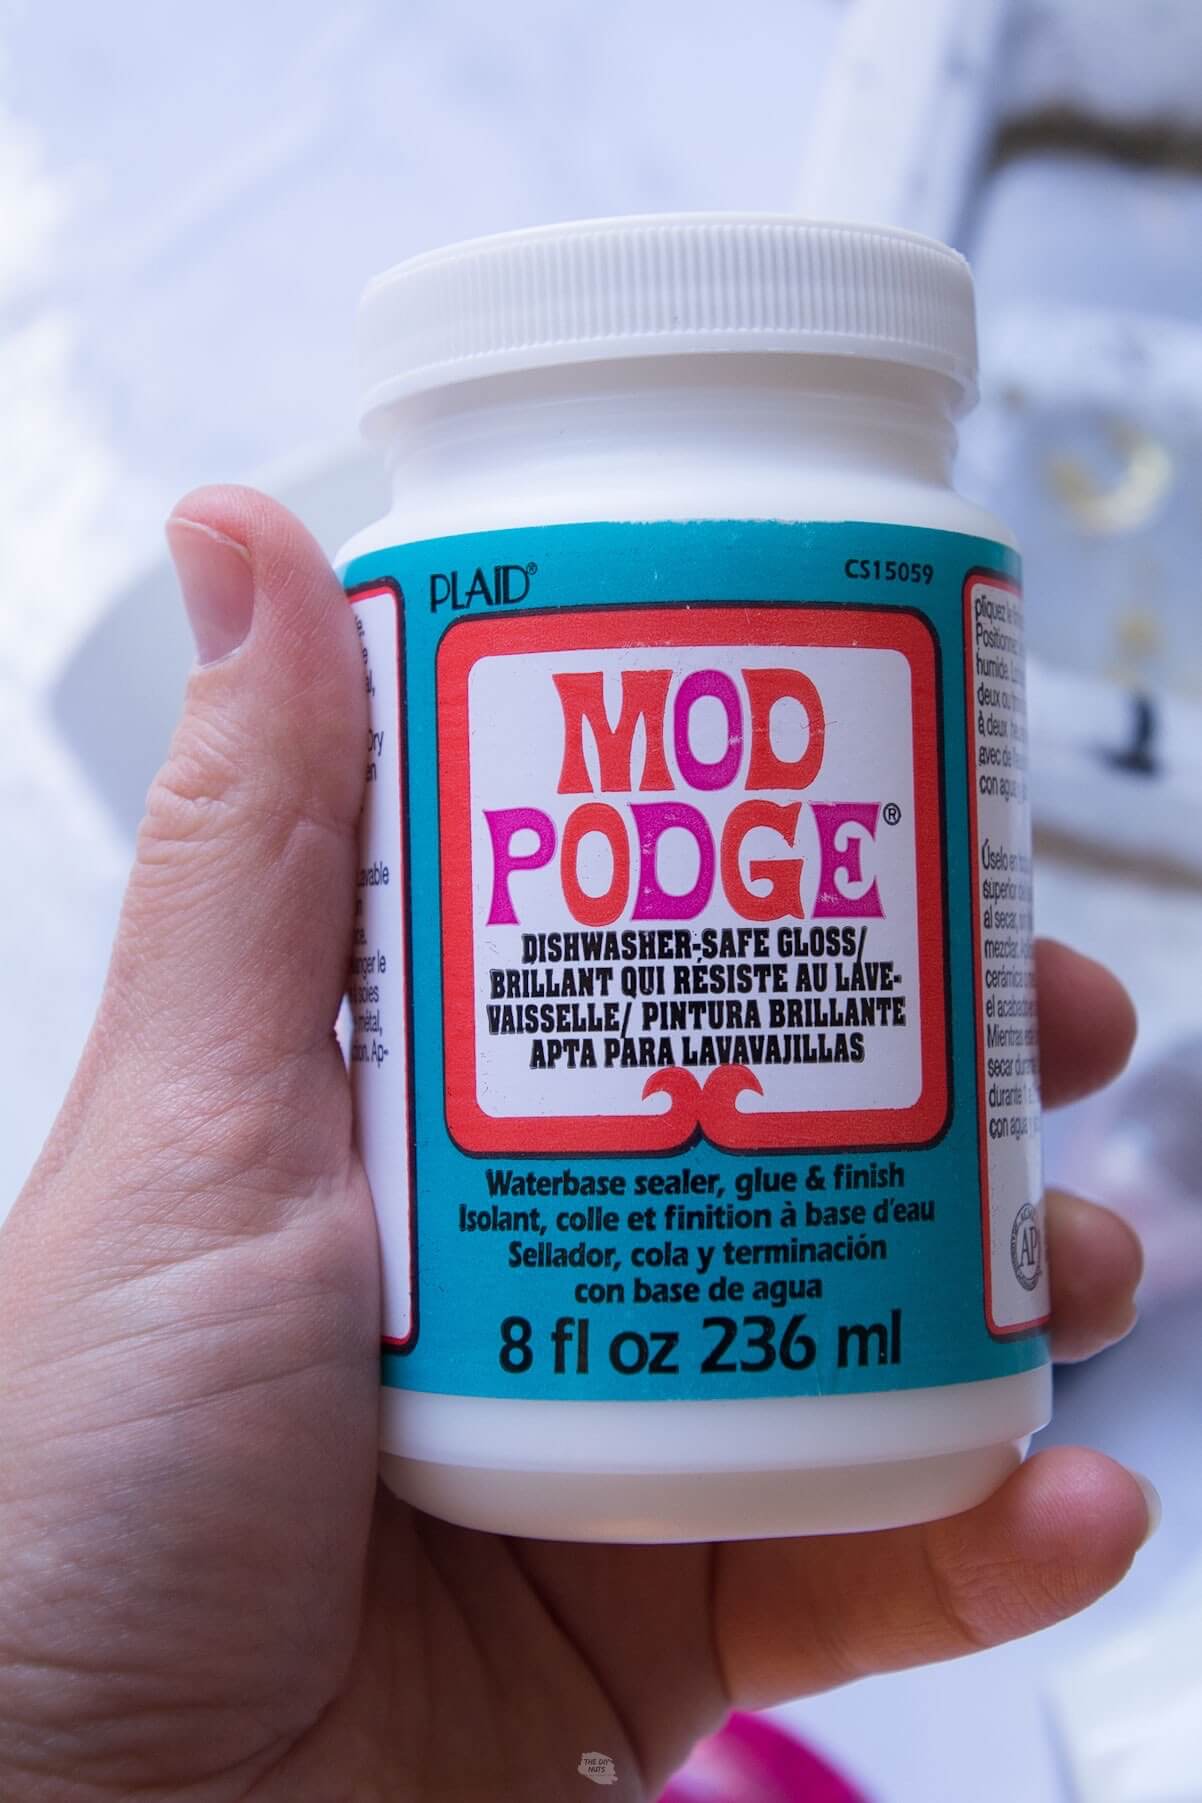
- Dishwasher Safe Mod Podge
- Small Foam Brush

DIY Nail Polish Mug Tutorial
Before You Begin
Make sure that your ceramic mug is completely clean and dry. Sometimes mugs have an annoying sticker on the bottom. You can use one of our 6 ideas for how to remove sticker residue to get the mug completely clean before starting.
Step 1: Fill A Container With Warm to Hot Water
Make sure your container is large enough to dip the mug without hitting the sides. You will also ruin the container so don’t use a nice one.
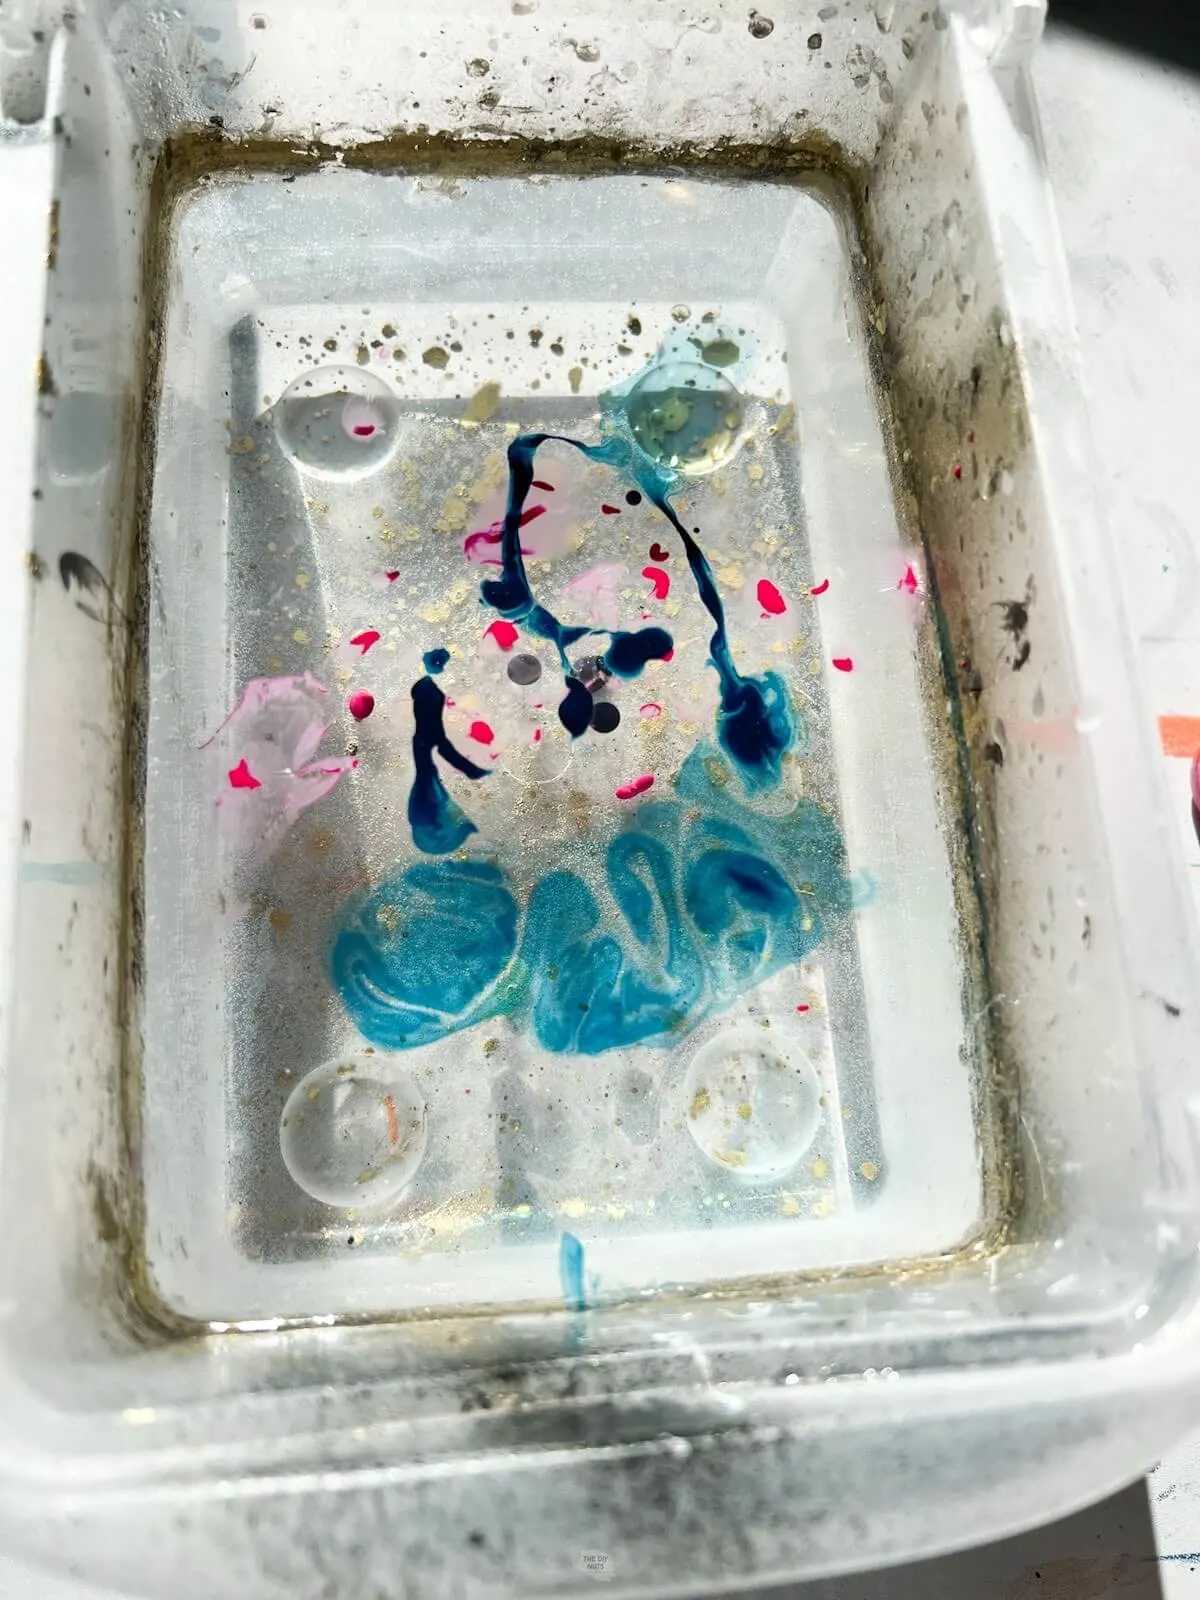
Step 2: Add Nail Polish
Add a few drops of nail polish to the water.
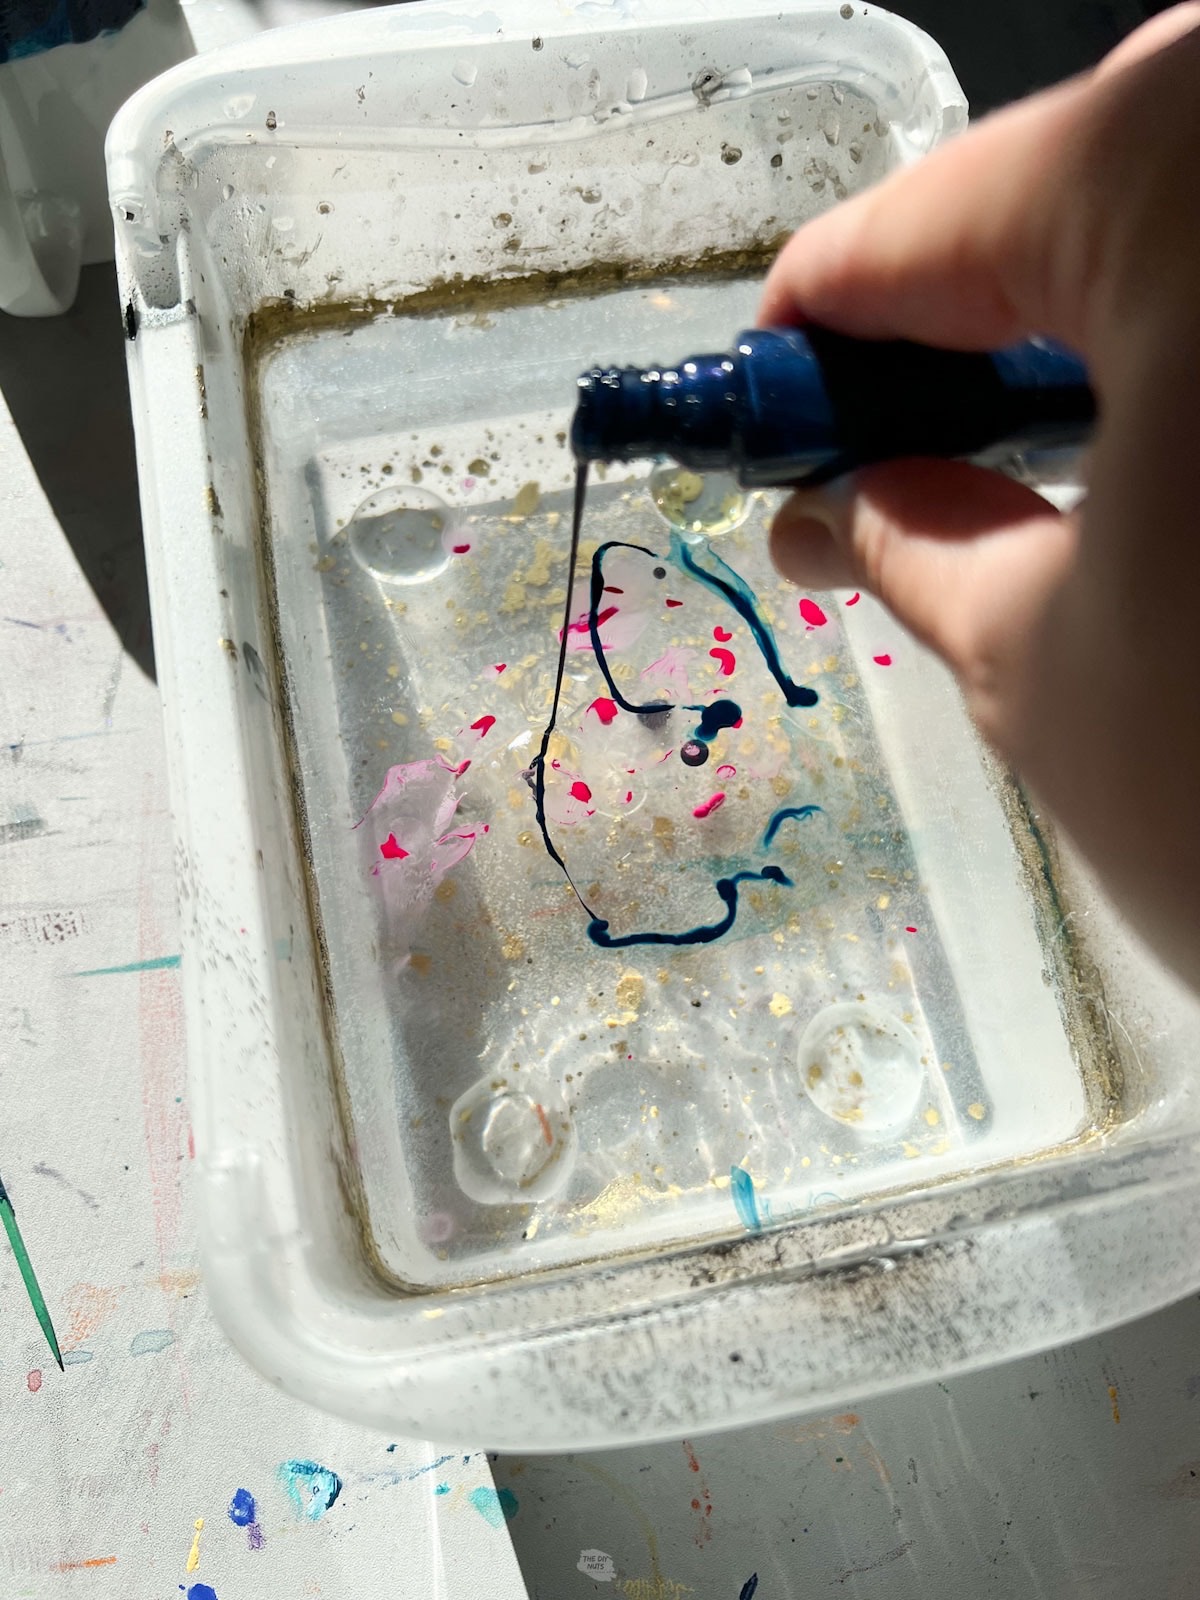

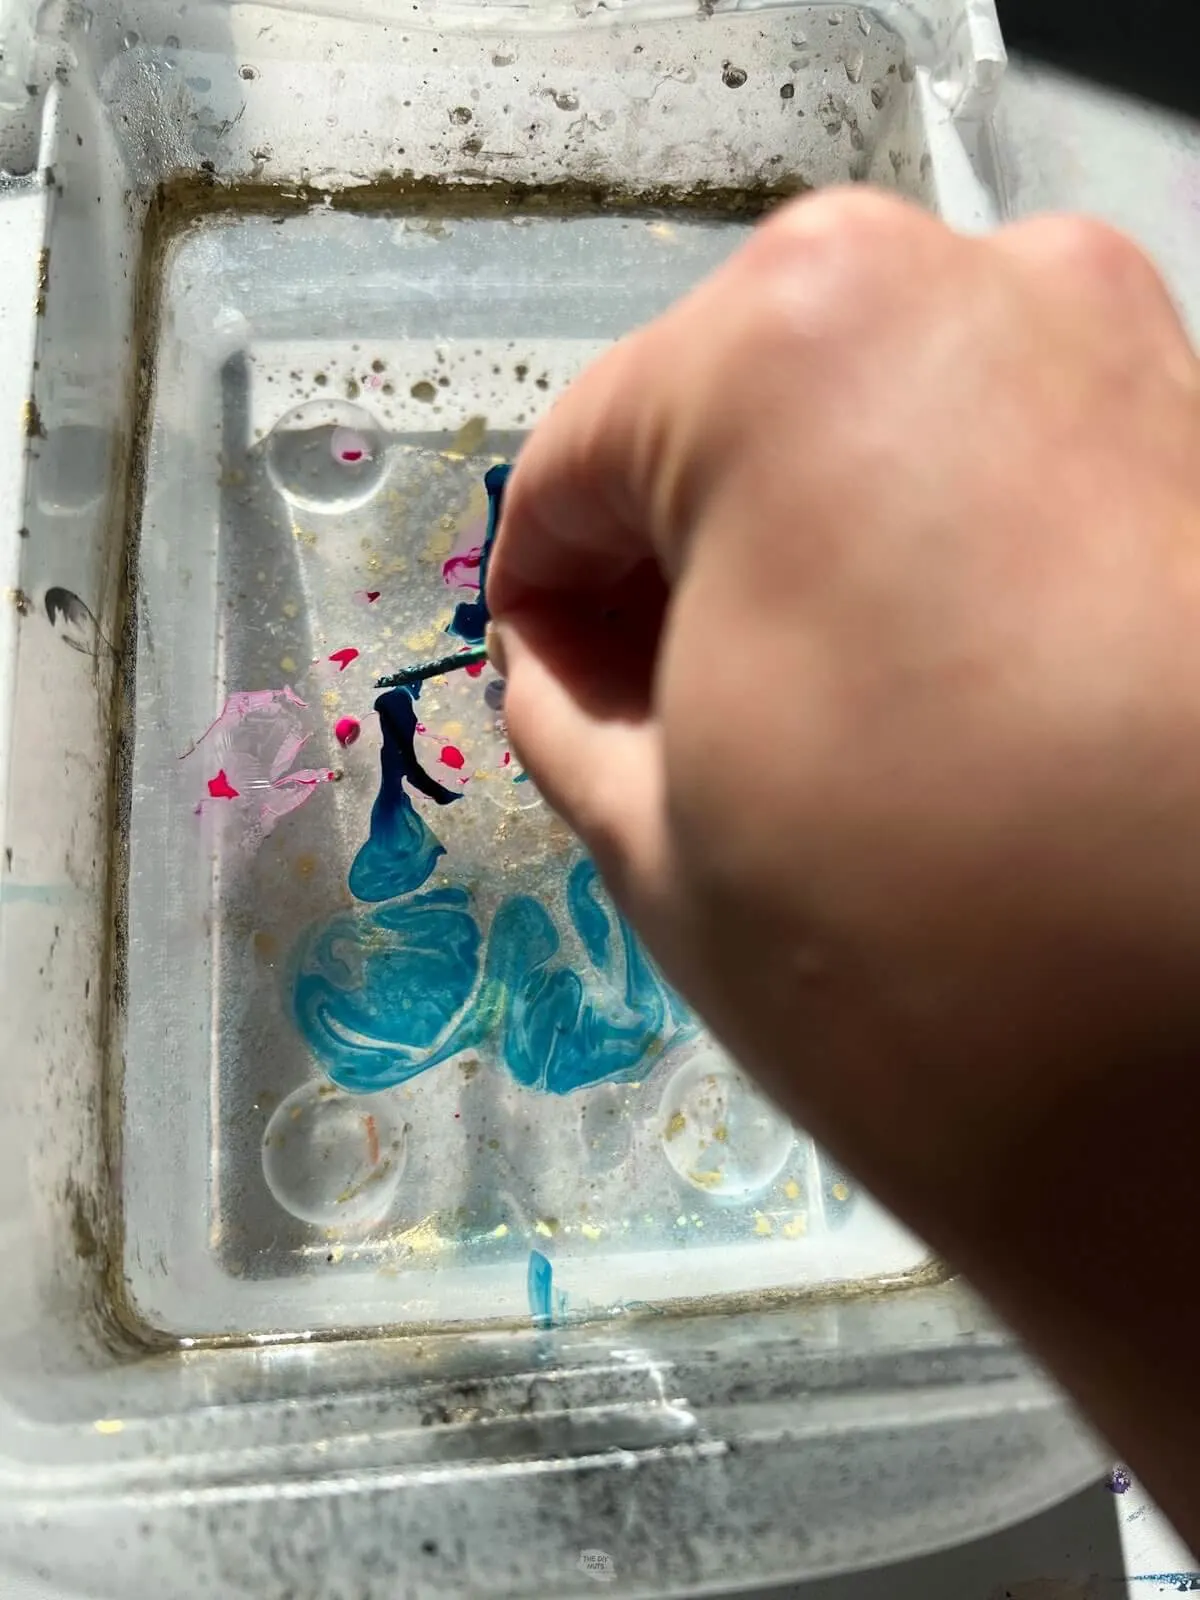
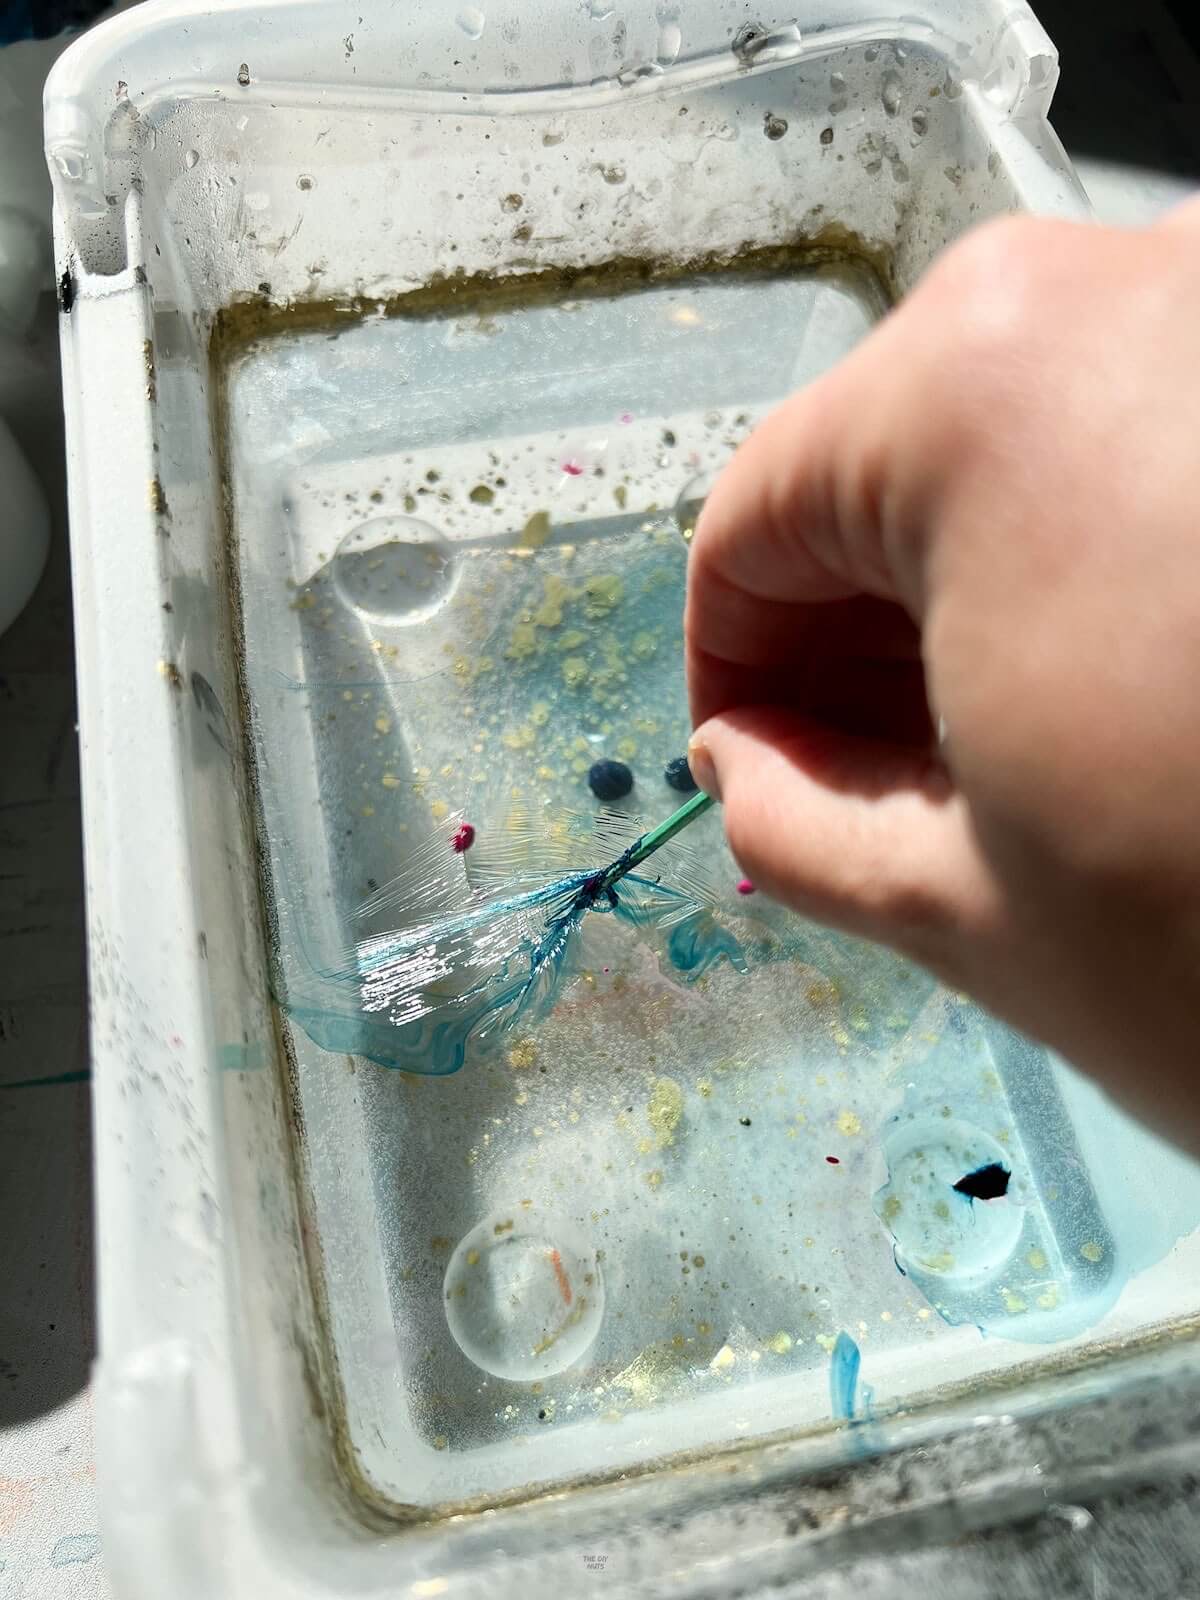
Optional: Swirl With A Toothpick
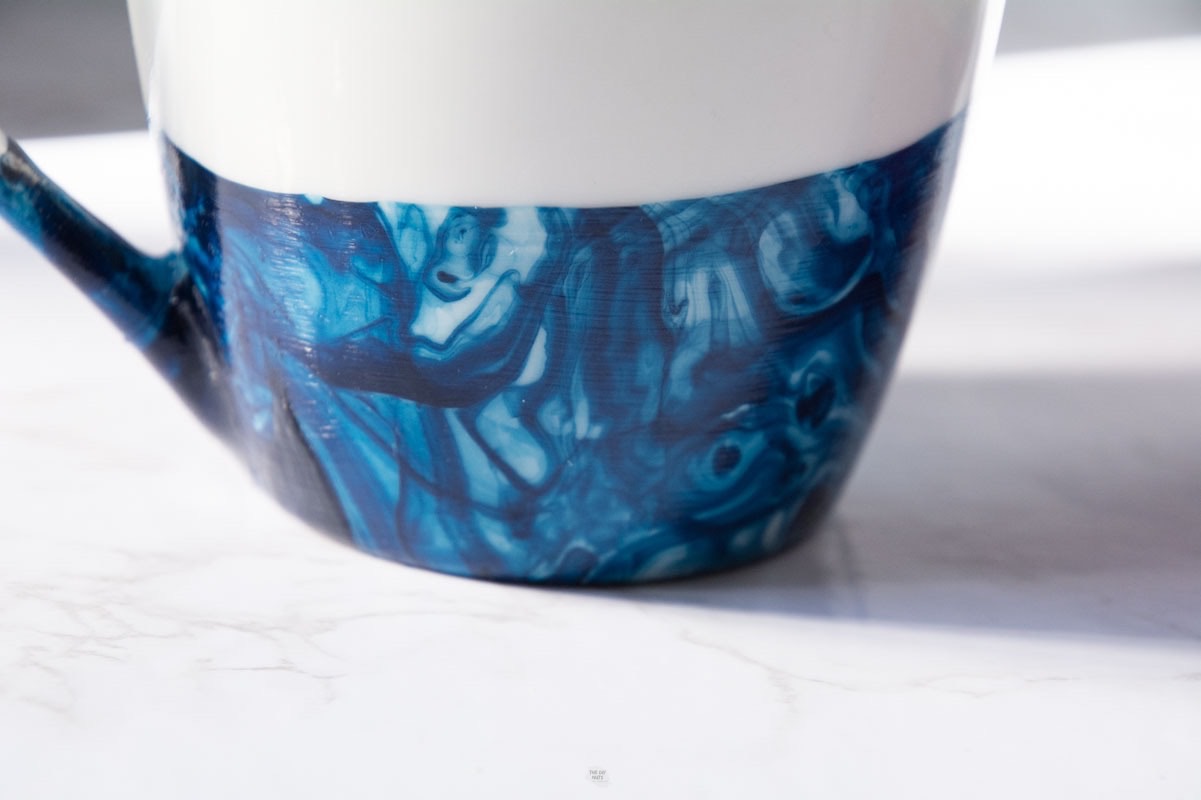
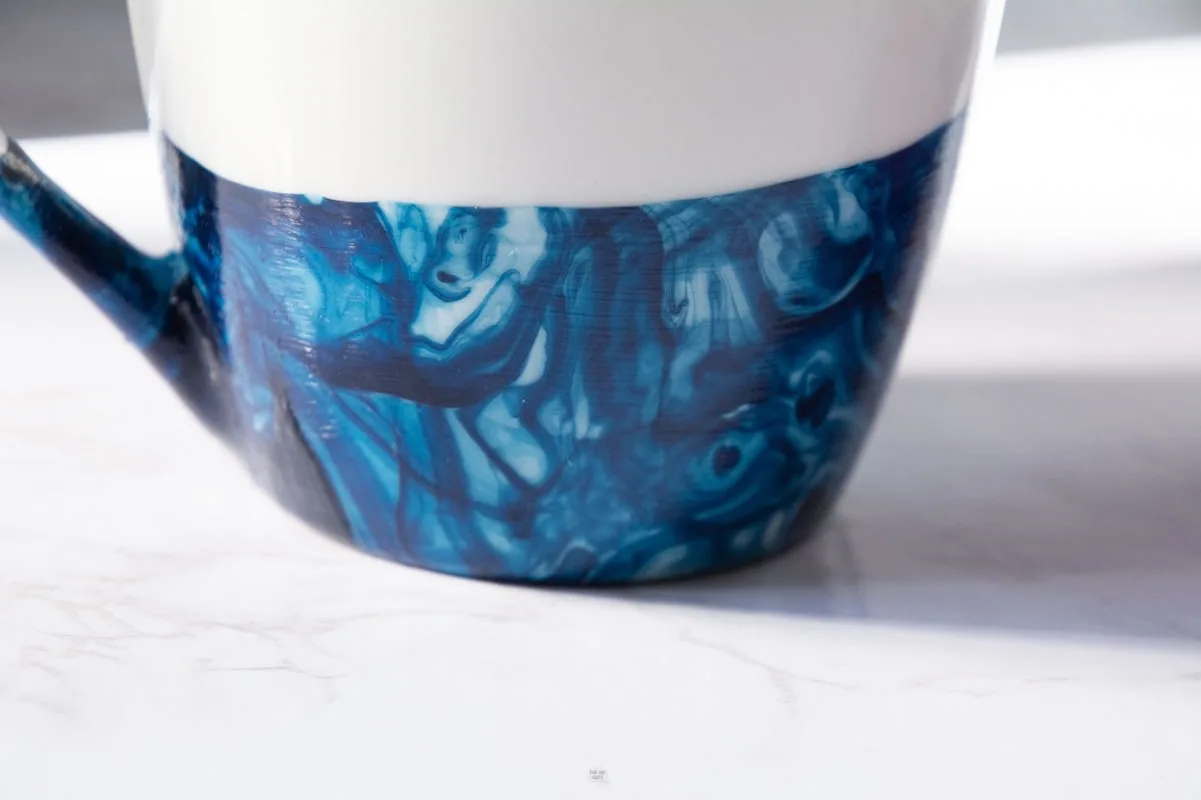
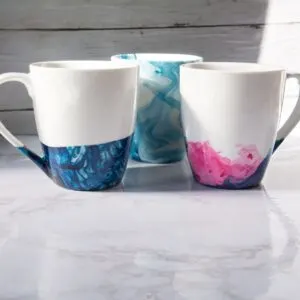
Our blue nail polish naturally made a cool design without needing to swirl it. Some brands may need a little extra swirl. Just make sure you do it quickly.

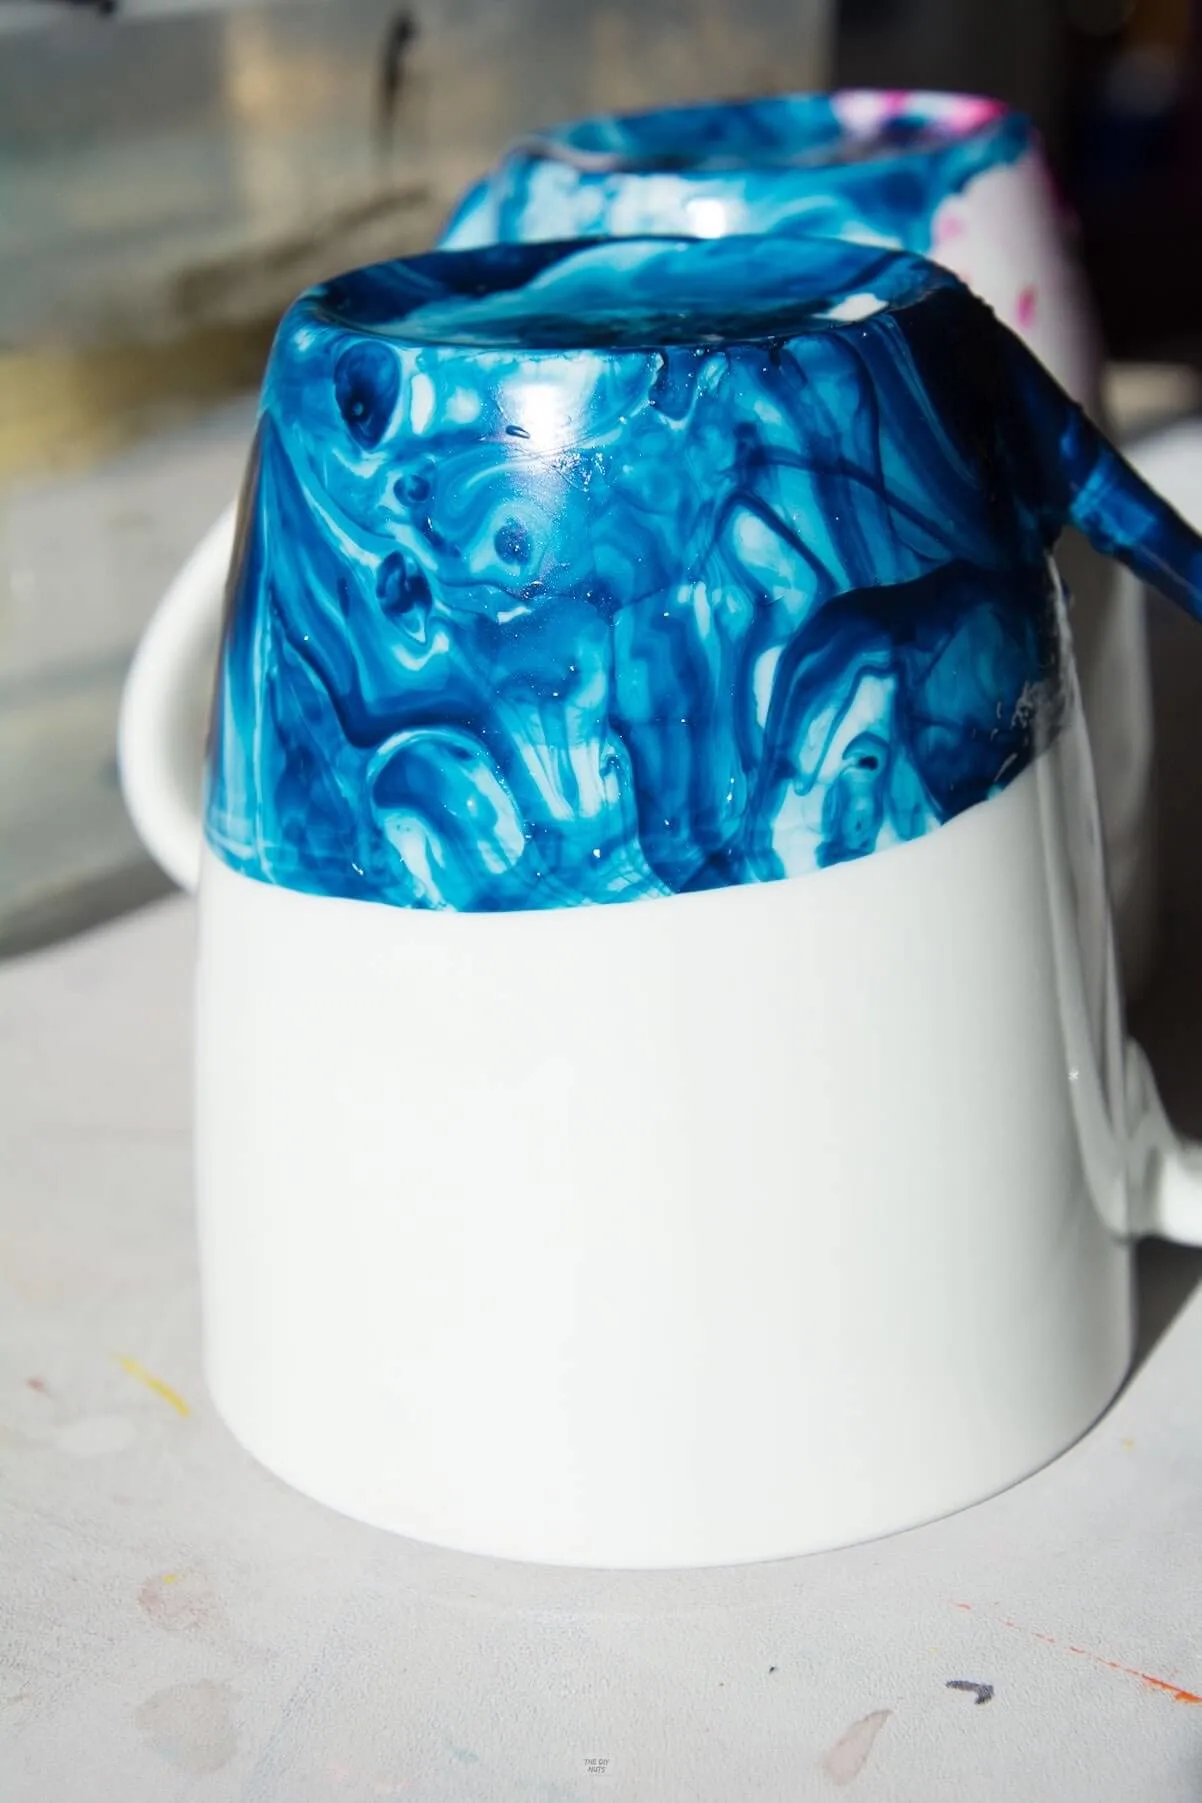
Step 4: Dip In Mug
Only dip the bottom of your mug. If you are drinking from these you do not want nail polish where your lips or food would touch. If these are decorative cups you can do whatever you want!
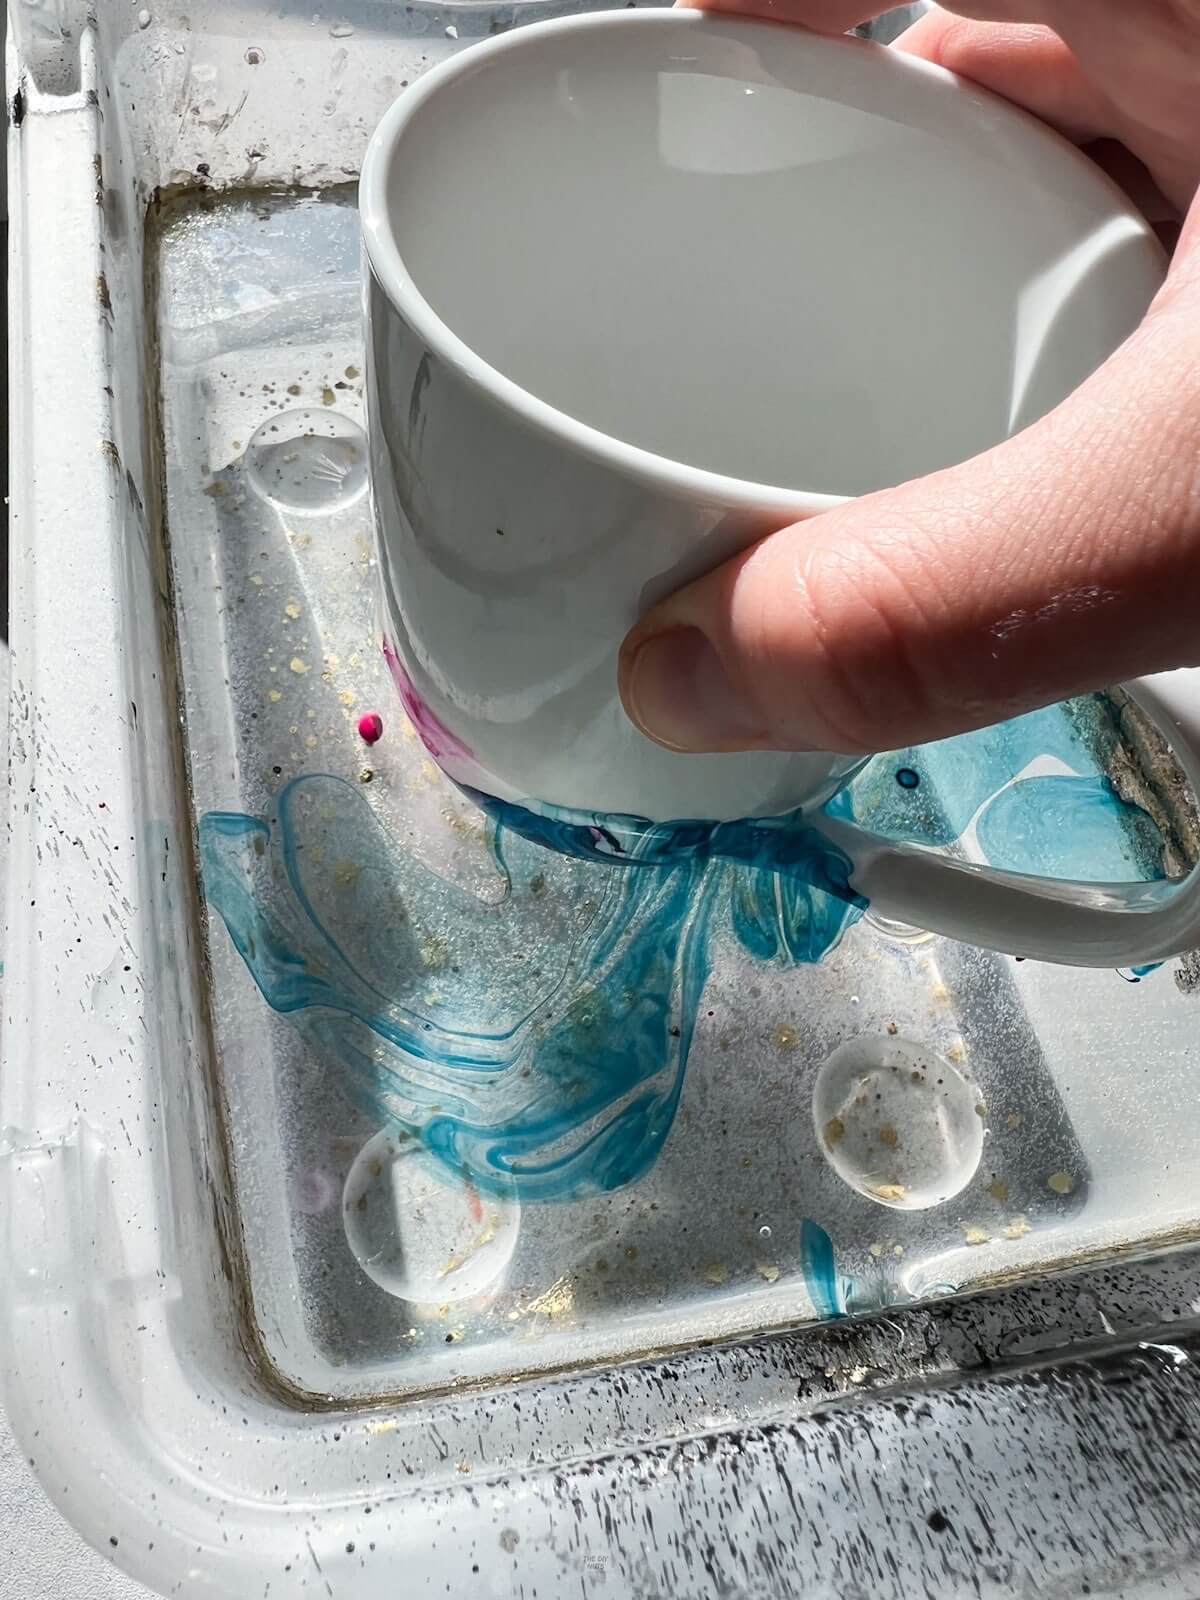

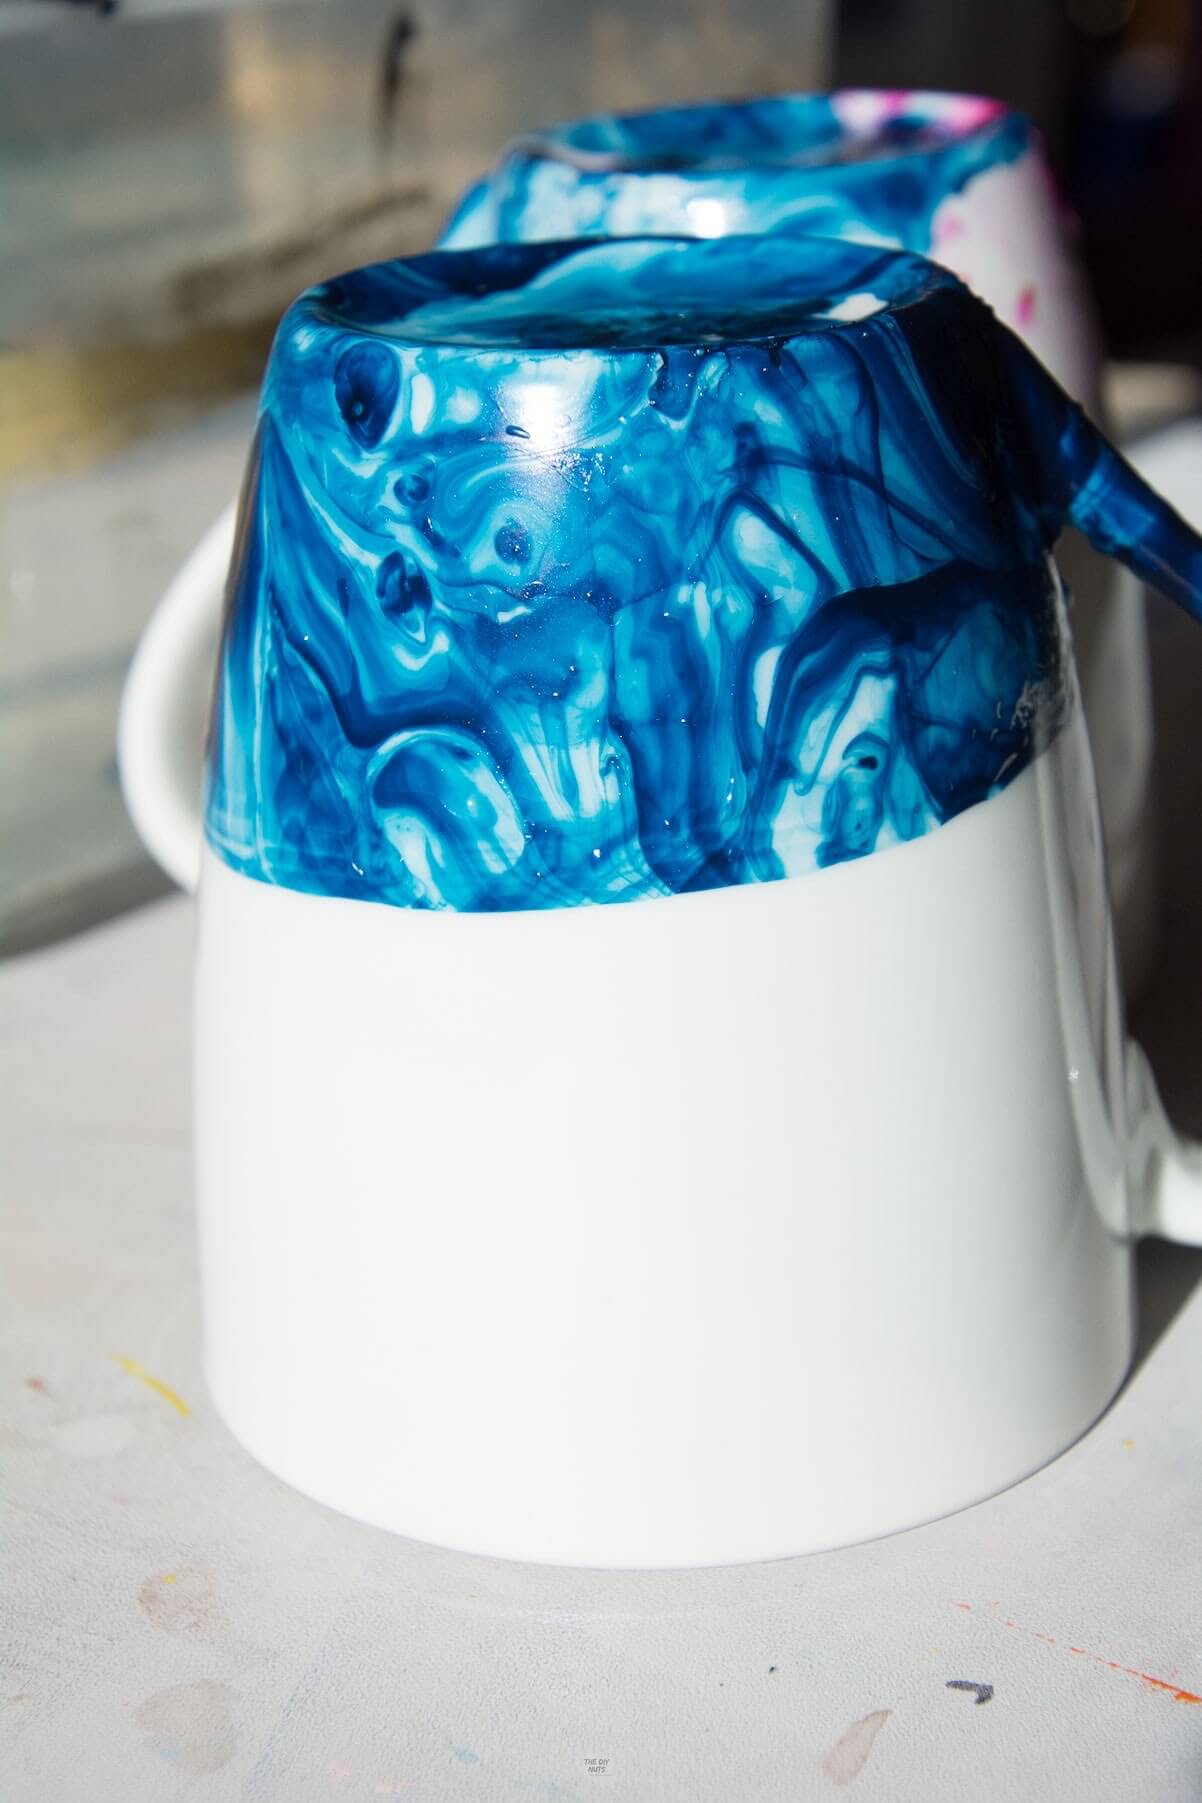
Step 5: Pull Out
Carefully pull out your mug and flip it over to dry.
Optional: Remove Any Imperfections
We had a drip on our blue nail polish mug and use nail polish remover on a paper towel to clean it up before it dried.
Step 6: Add Dishwasher Safe Mod Podge
Coat the areas that have nail polish with a dishwasher-safe Mod Podge. We used a small foam brush and added two coats with proper dry time in between.
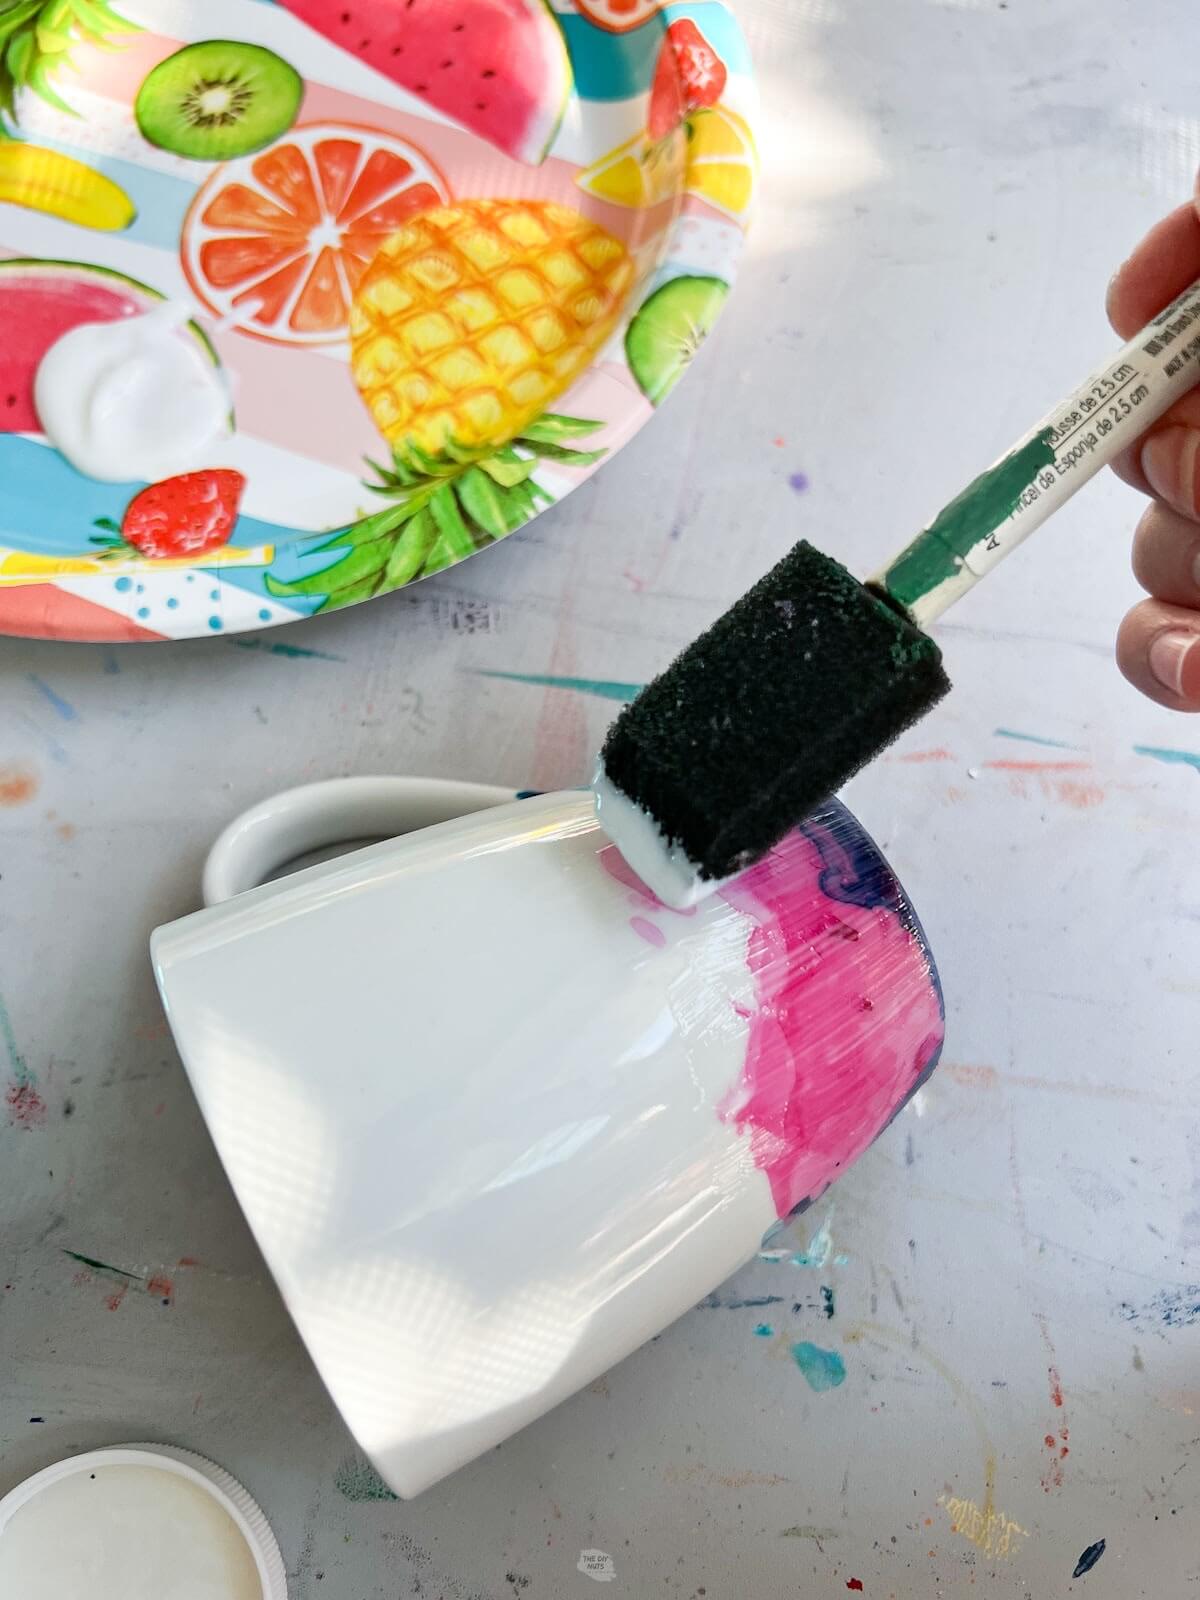

The design of this mug made it a little hard how to decide to seal it. We ended up taking the brush and going horizontal across the bottom half. The blue one had a straighter design and made it easier to add the Mod Podge.
How To Make Dishwasher Safe
You will want to coat the part that has nail polish with dishwasher-safe Mod Podge. We added two coats and allowed proper dry time in between. According to Mod Podge, you need to let it cure for 28 days before trying to wash them.

The Mod Podge will help your design stay on the mug. If you want to be extra careful, I would still handwash them to make sure they last. If you are going to put them in the dishwasher make sure you put them on the top rack.
Tips For Creating Marbled Mugs
- Work quickly: The nail polish will start to get goopy if you don’t dip it right away. Having your supplies ready and open will also help the process go smoothly.
- Swirl your cup: You can get some cool designs if you swirl your cup to get the nail polish to overlap.
- Use a toothpick to help clean out old nail polish. You can reuse the same container as long as you clean out the “nail” polish film.
- Have fun with color: This turn out well with one color or be adventurous and try two. Just make sure you work quickly.

Related DIY Marbling Posts
- DIY Faux Painted Pumpkins: We even used the same plastic container for this project.
- How To Do Spray Paint Marbling: Seriously we still love the awesome designs we were able to get on our modern terracotta pots.
- How To Dye Easter Eggs With Shaving Cream or Cool Whip
- DIY Shaving Cream Art Cards: The whole family will love making homemade holiday cards.
How To Make A Mug Without Nail Polish
In the above posts, we are using spray paint with a very similar tutorial. As long as you are only dipping the bottom of the mug, we know it would work well on the white ceramic base.
The nail polish may have been a little more forgiving with time. The biggest con I could tell about using this method is that if you held the mug too long, the nail polish would create a thicker film. I liked the look of the quick dip and fast rotation better.
This DIY marbling effect is a sure way to spruce up any item on a budget. You could use this paint technique on a variety of DIY home decor items inside or outside your home.
Follow us on Pinterest, Youtube or Facebook for more DIY inspiration!
Craft FAQs
No, even with the Mod Podge on it, you should not microwave the mug.
We purposely only dipped the bottom of the mug and only coated the areas with nail polish with Mod Podge. You do not want to have your mouth or food possibly touch where nail polish and Mod Podge have been used.
You can use old nail polish you already have and you just need a ceramic mug. You can find great ones for around $1-$2. Check your local thrift store for cheap mugs as well.
You can use nail polish remover on q-tips, paper towel or cotton ball to clean up any areas right after you dipped the mug. Just make sure you get clean before sealing with the dishwasher-safe Mod Podge.
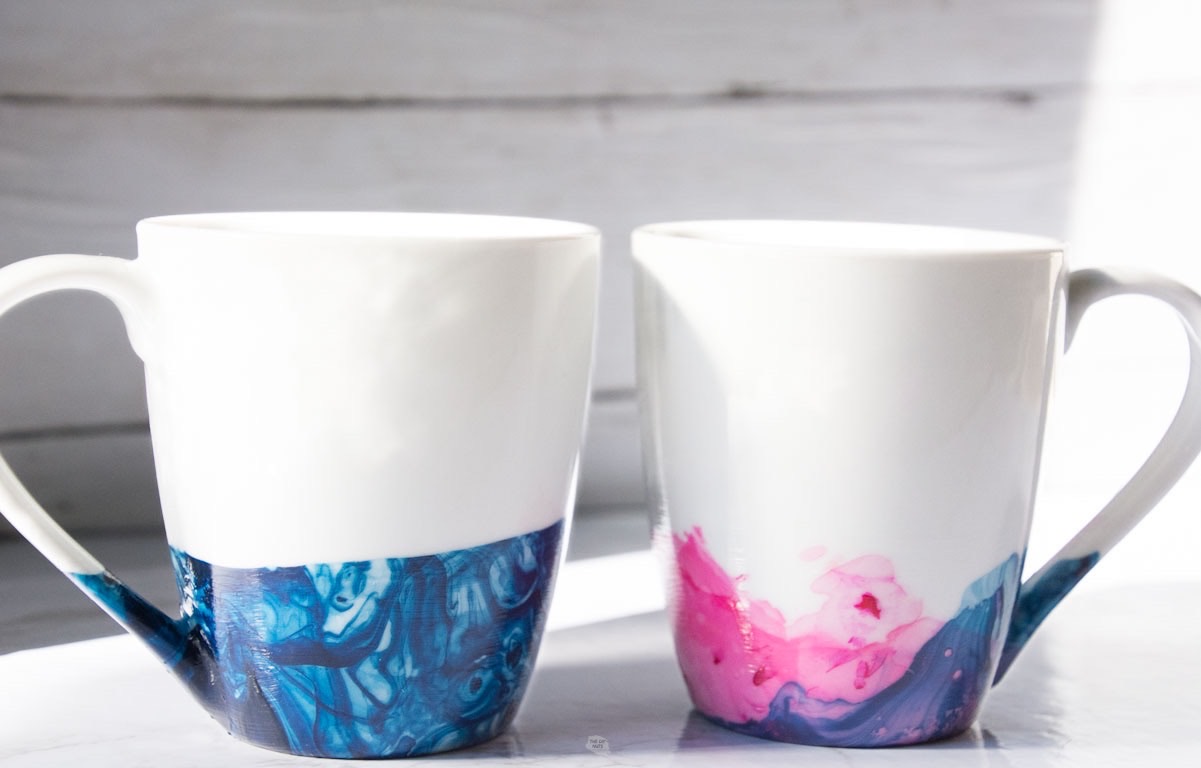
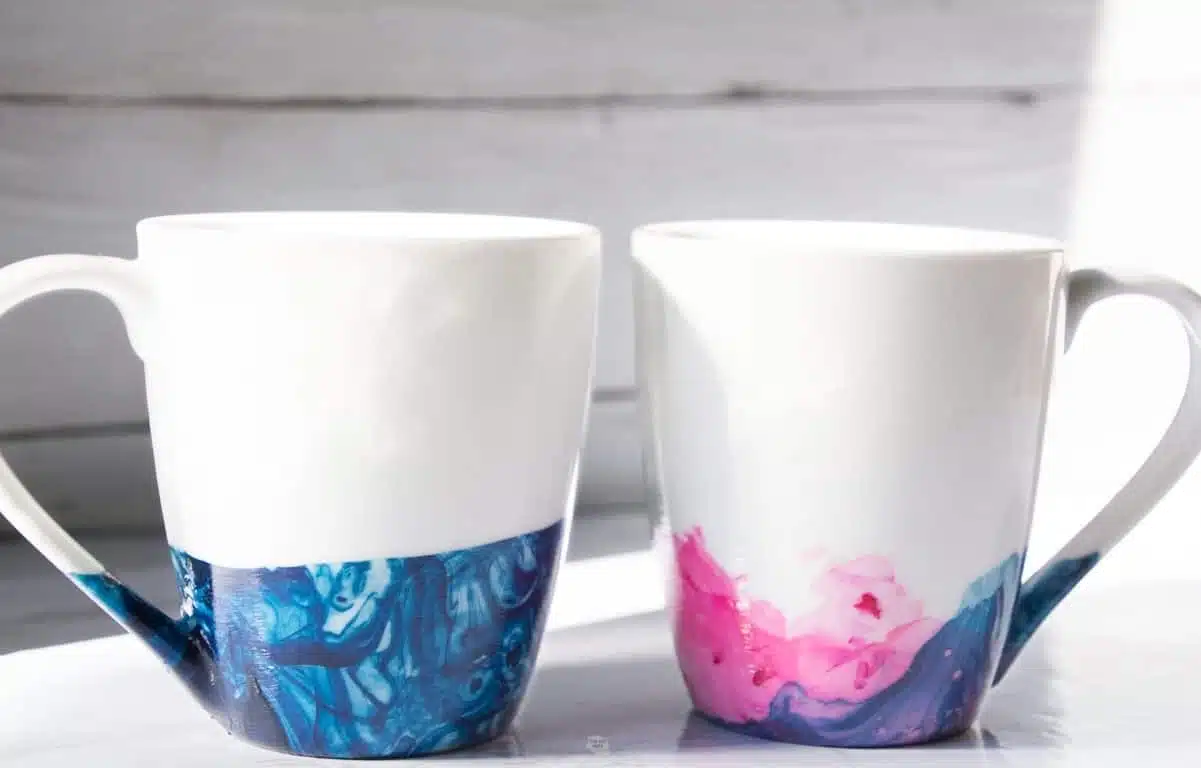
Bright and dark colors will give you the most contrast and interesting designs. We tried with a light pink and were barely able to see it.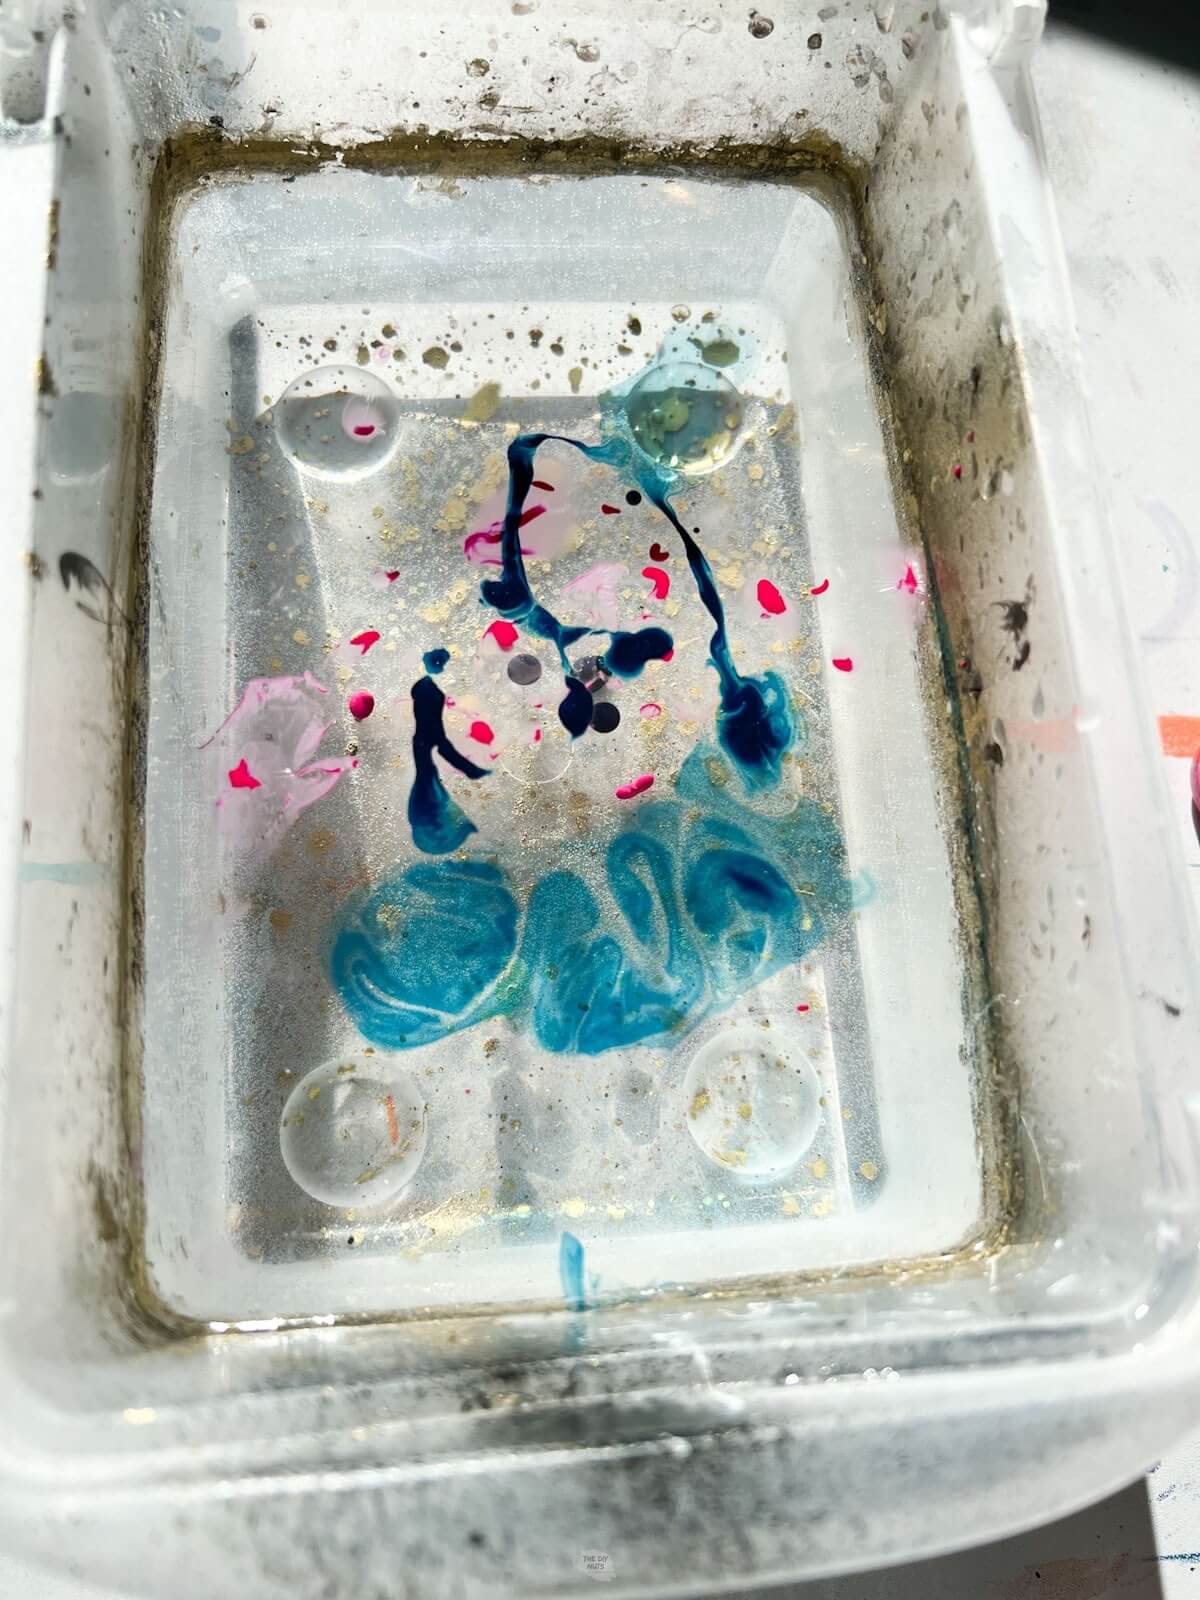
Did you have fun making this craft with your family? Make sure to leave a 5 star ⭐️ ⭐️ ⭐️ ⭐️ ⭐️ review in the comments!

Marbled Nail Polish Mugs
Equipment
- Skewer or Toothpick
- Old Container Filled With Warm Water
- Small Foam Brush
Recommended Supplies
- White Ceramic Mug
- Nail Polish Remover optional if you make a mistake
- Nail Polish one or two colors
- Dishwasher Safe Mod Podge
Instructions
- Fill your container with warm to hot water. Make sure to fill it enough so you will be able to easily dip your mug.
- Add drops of nail polish.
- Swirl water with a toothpick. Work very quickly.
- Dip mug partially in. If you are drinking from this mug you do not want nail polish where your mouth woul go.
- Flip over and let dry.
- Use a small foam brush and Dishwasher Safe Mod Podge to coat where nail polish desings are.
- Let dry and enjoy your new mug.
Notes
- Dishwasher-safe Mod Podge needs 28 days to cure to fully work.
- Do not place these mugs in the microwave.
- For best results, we would still handwash the mugs.
- Work quickly: The nail polish will start to get goopy if you don’t dip it right away. Having your supplies ready and open will also help the process go smoothly.
- Swirl your cup: You can get some cool designs if you swirl your cup to get the nail polish to overlap.
- Use a toothpick to help clean out old nail polish. You can reuse the same container as long as you clean out the “nail” polish film.
- Have fun with color: This turn out well with one color or be adventurous and try two. Just make sure you work quickly.