
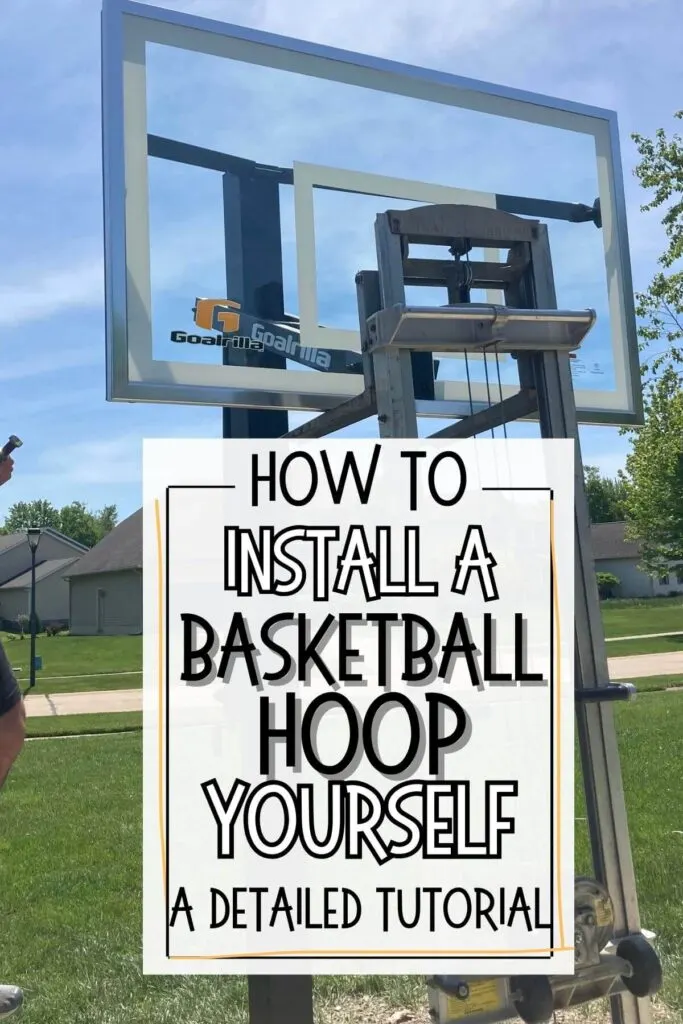
Do you love the idea of your kids playing basketball in your driveway, but want something a little more sturdy than a portable hoop? We used the materials and detailed installation process below to install our own inground basketball hoop and have helped others, too. Our DIY basketball goal installation even withstood a tornado this year, so you know it works!

*Disclosure: I only recommend products I would use myself and all opinions expressed here are our own. This post may contain affiliate links that at no additional cost to you, I may earn a small commission. Read our full privacy policy.
This post is for educational purposes and it is meant to provide a real-life example of how you can install a basketball system yourself. After reading this post, if you are in doubt, we recommend contacting professional installers.
Where you purchase the ground basketball hoops will be able to help you answer questions about the price and timeframe of using a local contractor for assembly services.
Table of Contents
Tools Needed To Pour Base
- A Vehicle with a Hitch: if renting an auger from Home Depot
- Towable Auger: you can rent one to make digging the hole pretty easy
- Shovel (spade and flat)
- Post Hole Digger
- 2’ or 4′ level
- Tape measure
- Wheelbarrow
- Garden Rake
- Barrel or Drum Mixer (can be rented or you can mix the bagged concrete by hand in your wheelbarrow but it takes a lot of effort)
- Sledge Hammer
- Claw hammer (Framing hammer)
- Garden hose
- Garden hose nozzle
- Extension cord with access to electricity or generator
- Concrete Float
- Broom
What if you don’t have the tools?
All of the tools listed above can be rented for a day or weekend from a large box store, hardware store or rental place that specializes in rental equipment such as Sunbelt Rentals or United Rentals.
Materials Needed
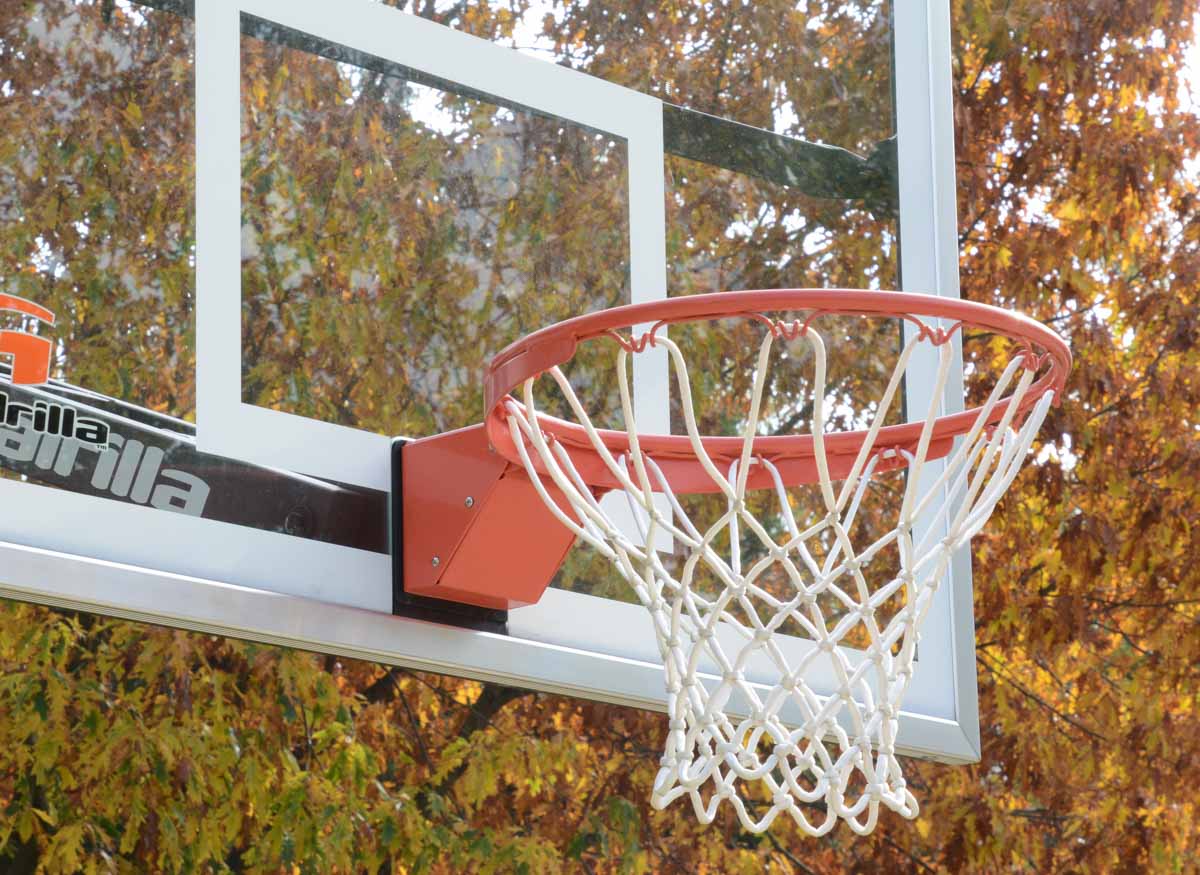
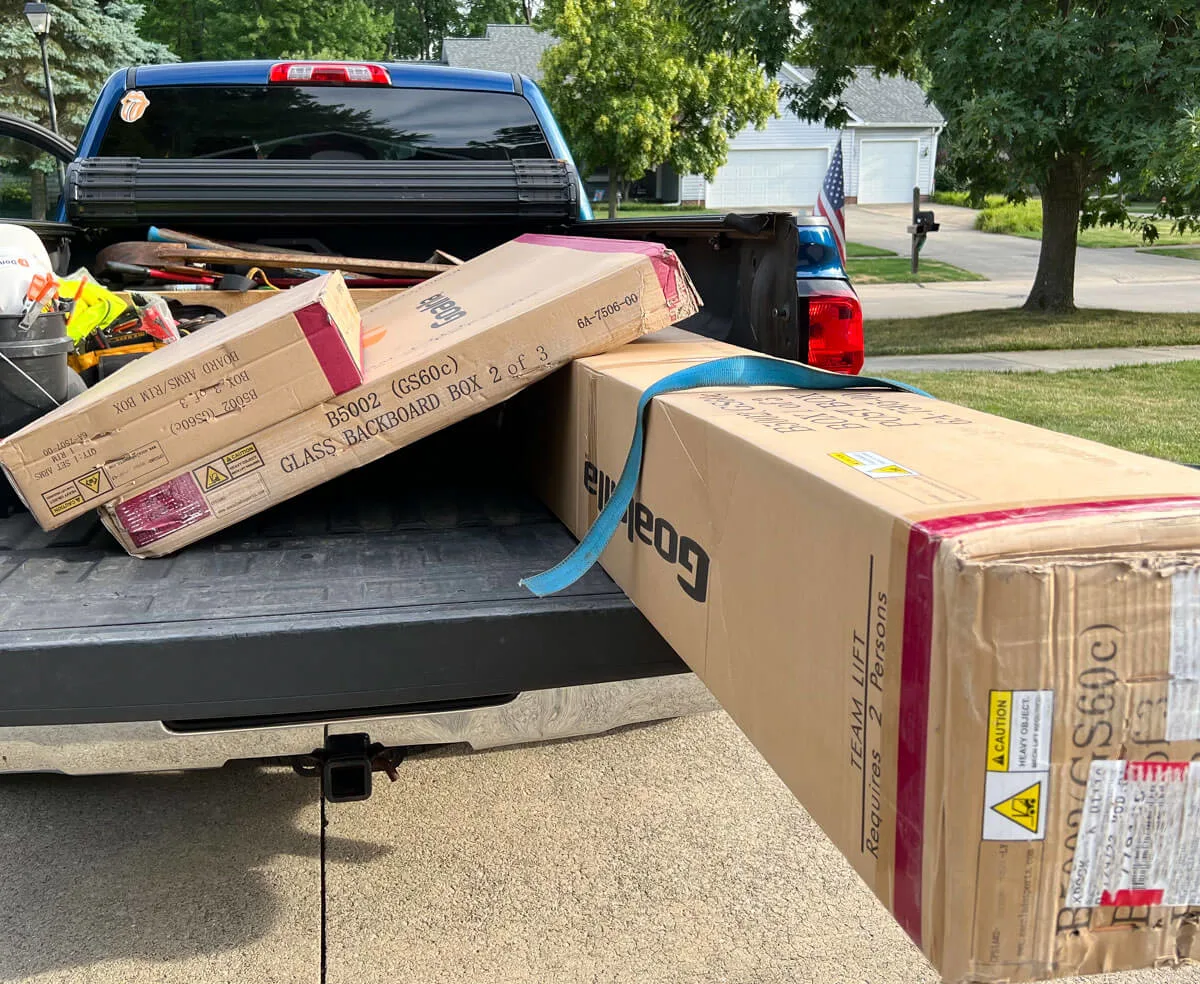
- Basketball Hoop: We ordered the Goalrilla 60″ In-Ground Hoop
- Rebar (comes with hoop)
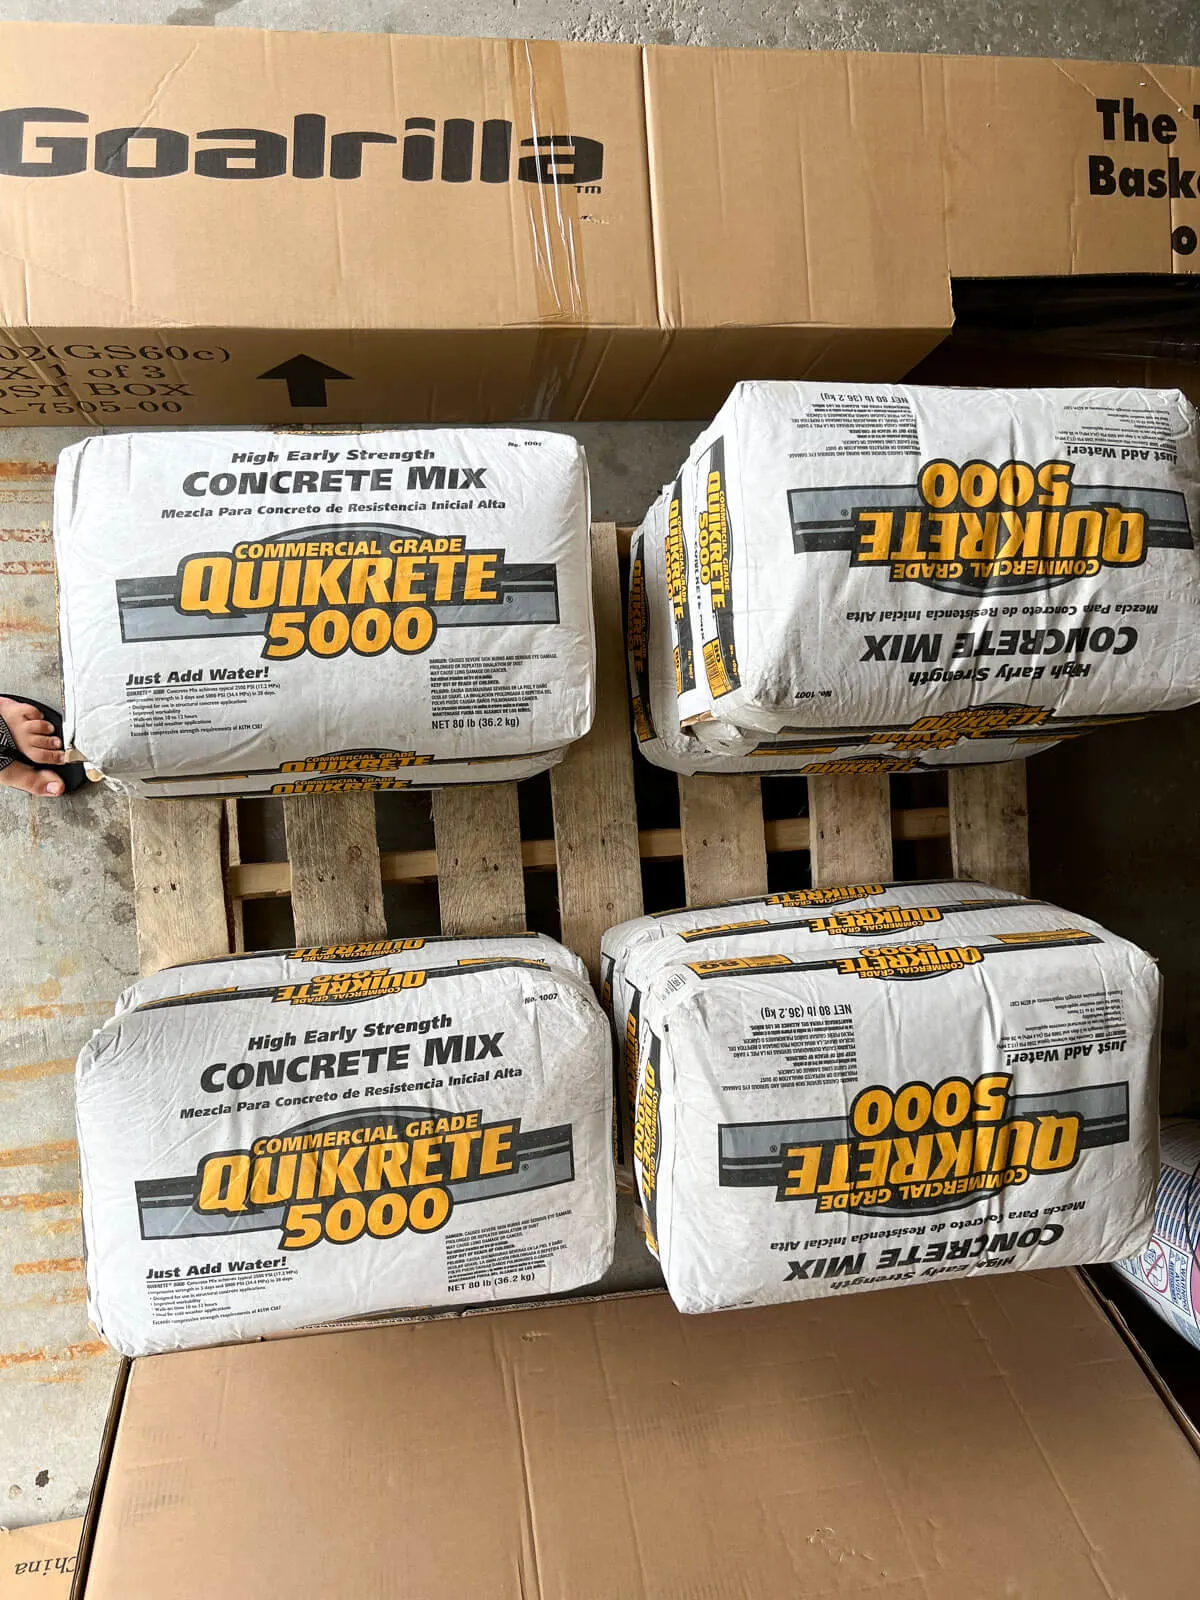
- Bagged Concrete Mix (ready mix) – appx. 18 (each) 80-pound fast-setting concrete bags
- Spray Paint (to mark areas)
- 2x4s for top-side form
- Grass seed
- 24″ Nail Stakes or Wooden Wedges
- Screws or Nails
- Expansion Joint: used for the edge of the driveway at the new concrete pad
- Access to water (hose bib)
- Concrete Curing Agent

Basketball Hoop Installation Guide
For your reference, this tutorial will show you how to install a 60″ In-Ground Goalrilla Hoop with a breakaway rim. You will need to modify these instructions based on your city’s code, location, and manufacturer’s instructions.
Before You Can Install
Step 1: Purchase Basketball Hoop
You can find various deals on in-ground basketball hoops at different times of the year. Two years in a row, we purchased these hoops during Memorial Day sales. One hoop was for our home and one was installed the next year at my brother’s house.

Step 2: Pick A Location For The New Basketball Hoop
Decide where to install the ground basketball system. The perfect location for ours was centered on our driveway due to the flat playing surface.
Step 3: Call Utility Protection Service
Call statewide utility protection service to mark underground utilities. Ohio’s is called OUPS. Different states or locations will have different services that should be free to homeowners.
This is important because it will hopefully prevent you from drilling into utility lines such as your waterline, gas line, cable, etc.
Few Tips About Utility Locators
- Municipal or State utility locators will not mark private property that is too far off the street or sidewalk.
- Watch out for your residential sprinkler lines, water lines, electrical service, and/or sewer lines.
- If you are worried you can call and pay for private services that will identify where your privately owned lines are.
- You will also want to mark sprinklers or electrical dog fences.
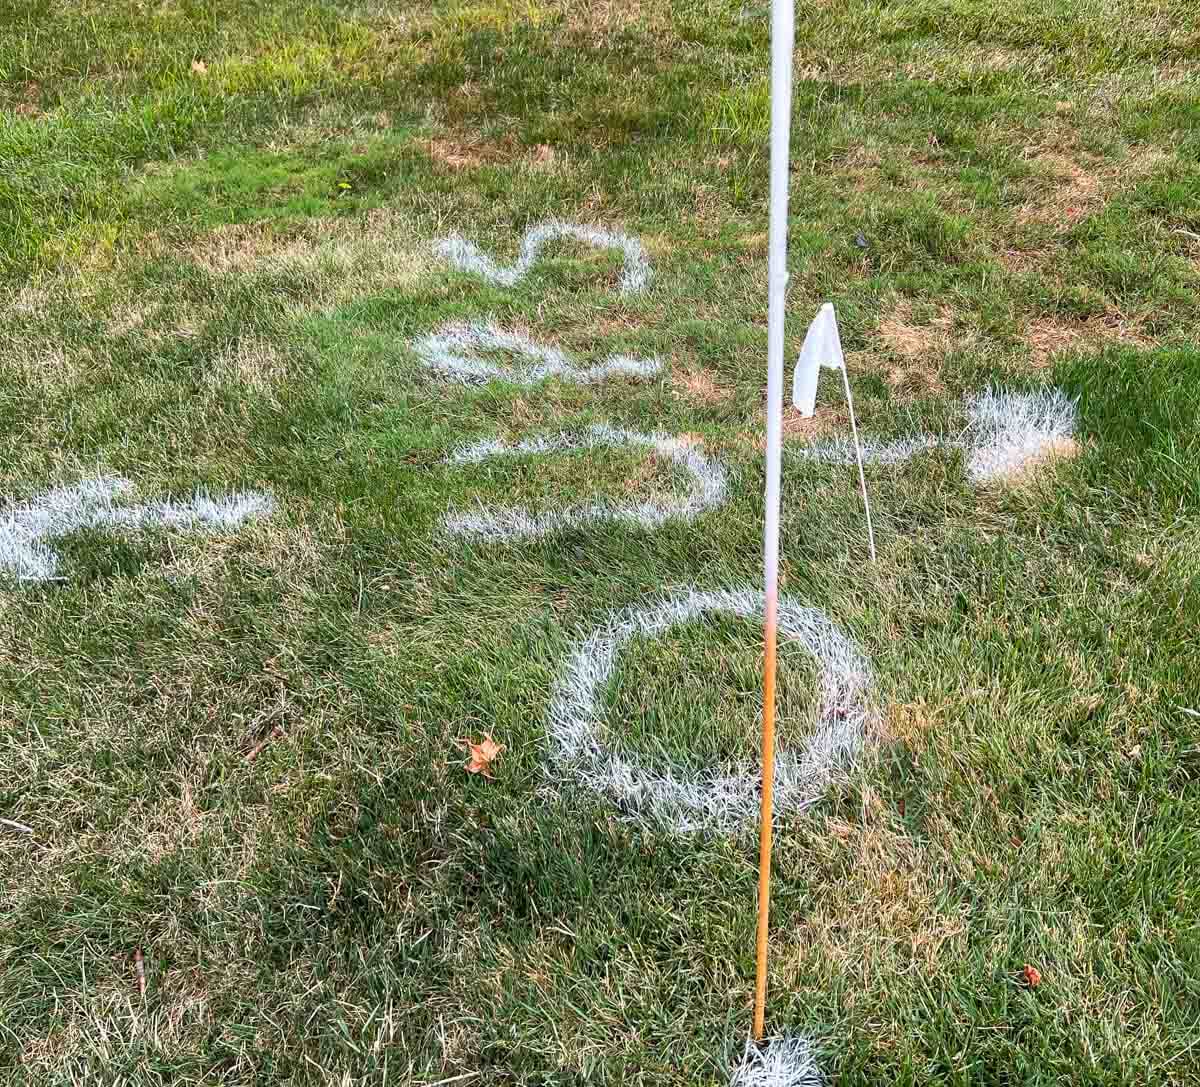
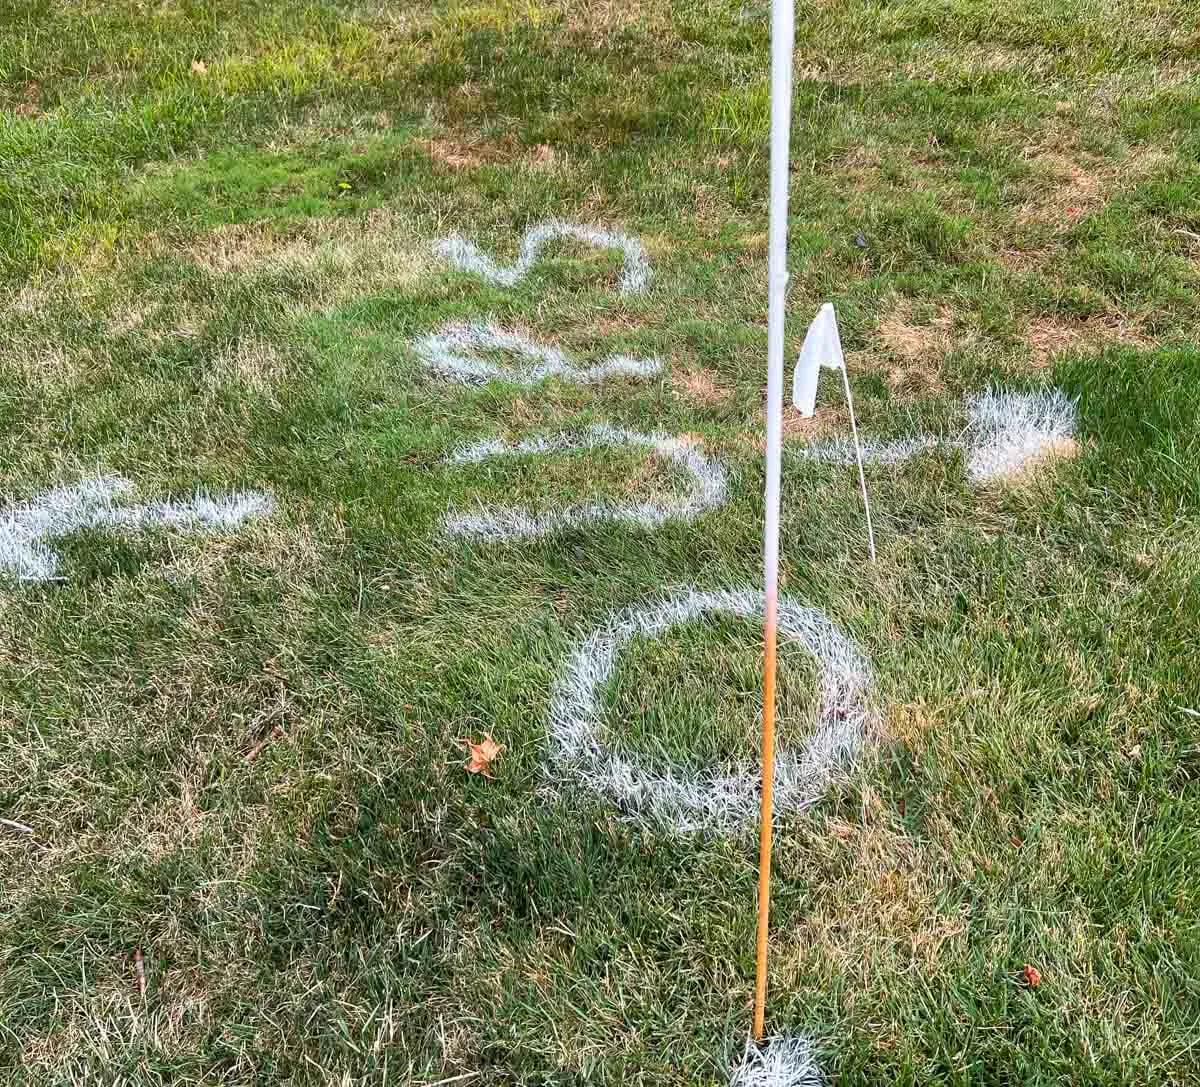
- In our area, you have to mark the area to be “excavated” in white paint at the excavation and at the curb on the street.
Step 4: Dig The Hole For The Concrete Foundation
Read the manufacturer’s instructions for your specific hoop. Our hoop calls for a 42″ deep x 16” diameter foundation. The biggest auger you could rent from our local store was 18″. We used this size to ensure our base was bigger than the minimum requirement.
Mark Out Location Of Form
Use spray paint to mark out the area where the concrete pad will go. You can cut your wood form now or later to help with this measurement.
Make sure that you remove grass and topsoil in this square area to match your form dimensions.

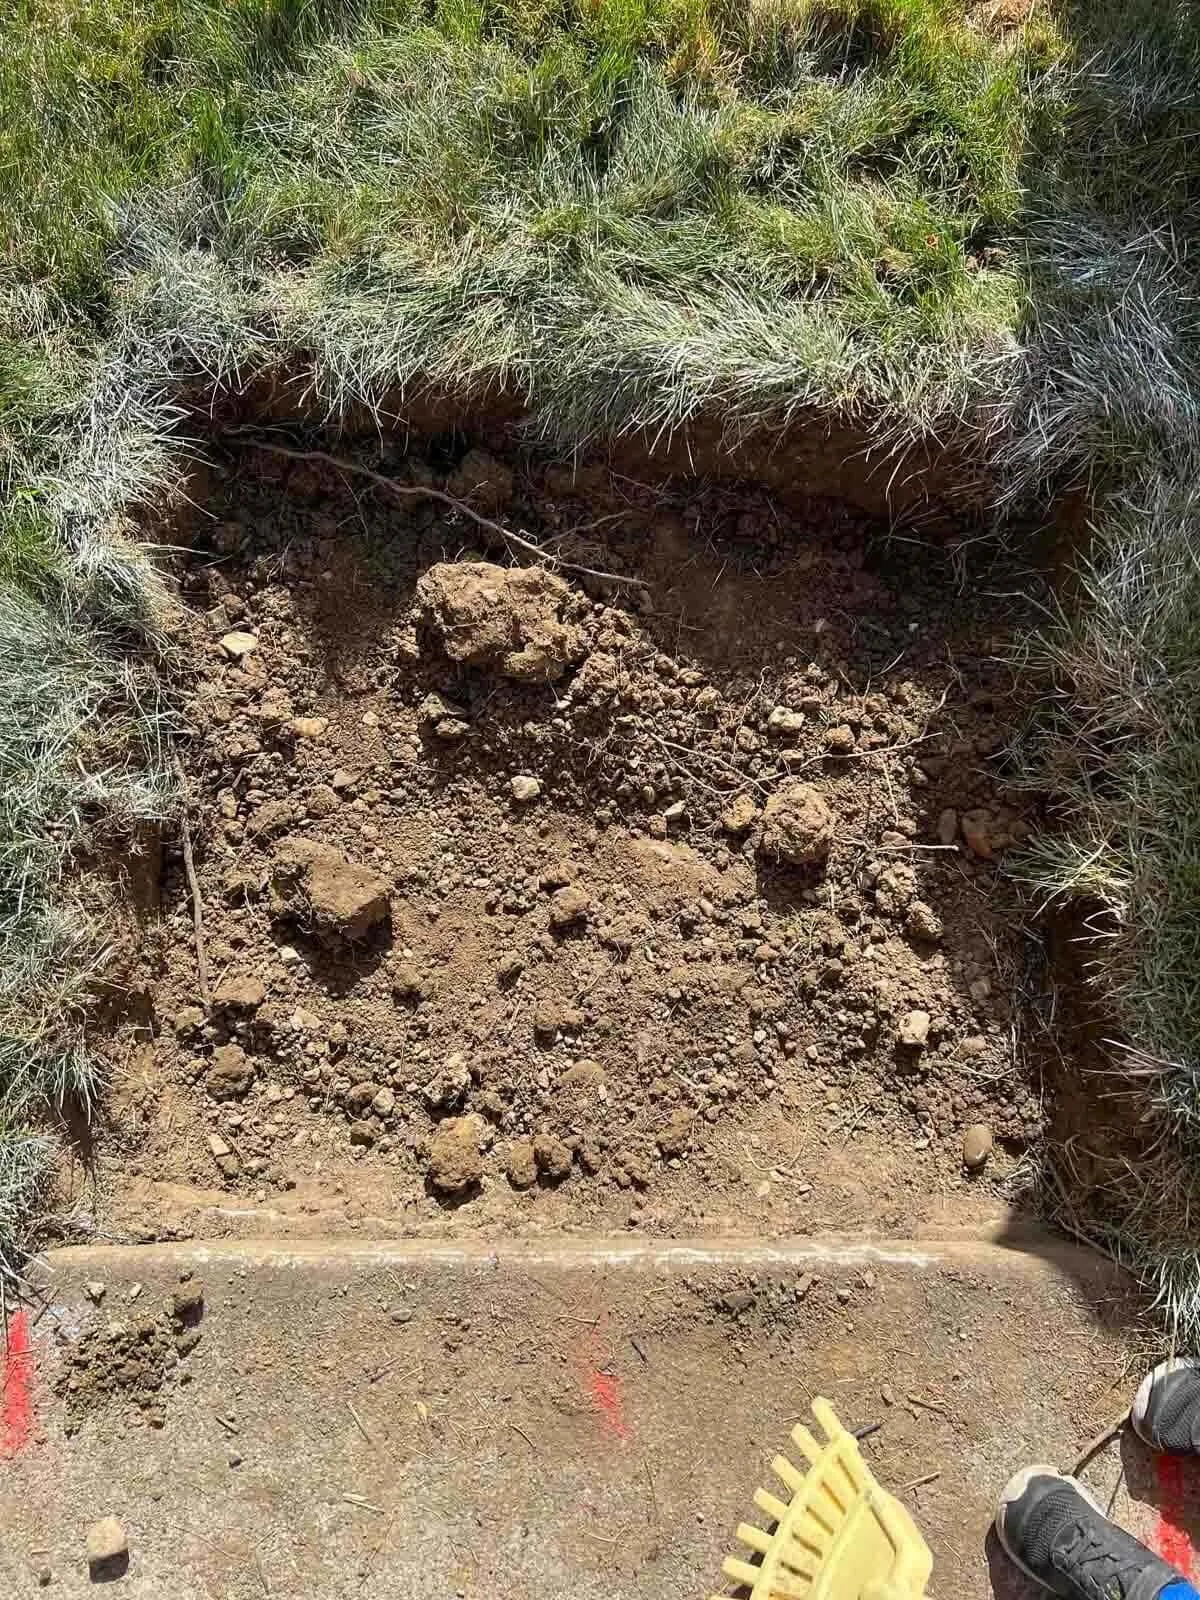
You may also want to save the grass and topsoil for after your pad is poured to fill in around the form.
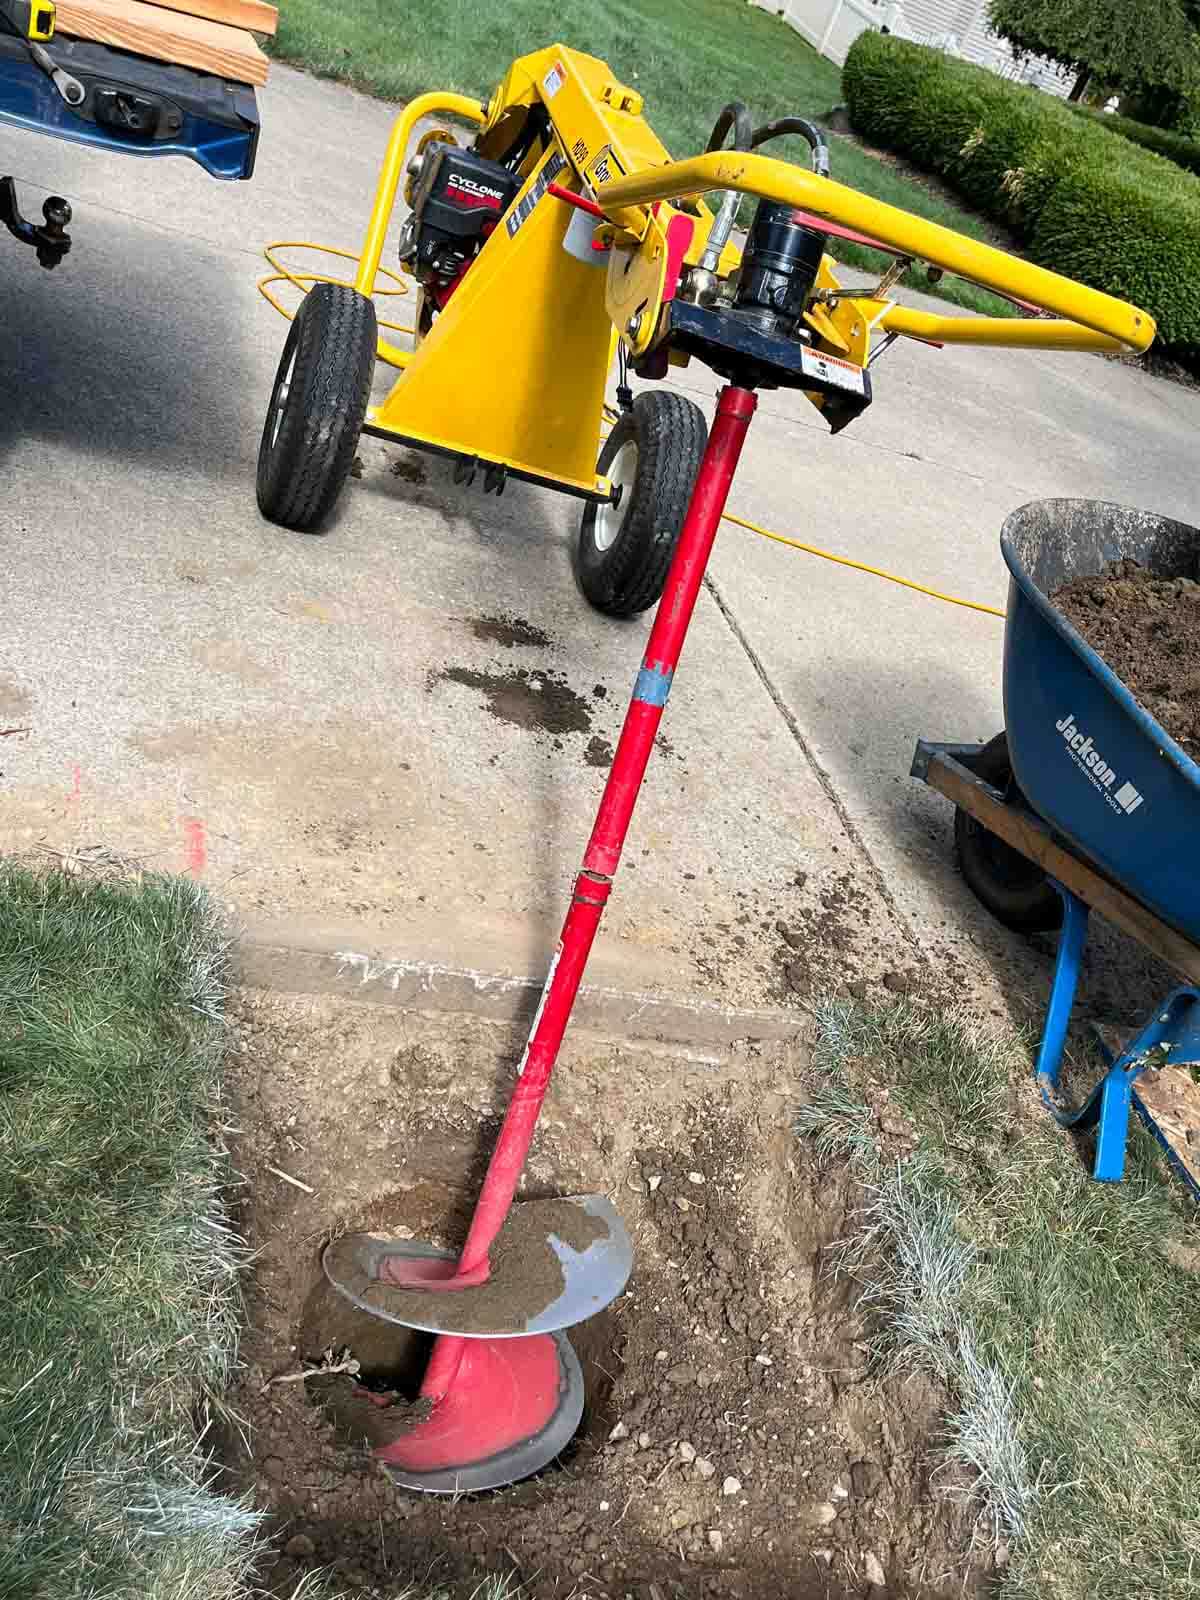
Begin Using Auger
Find the center of your dugout area. Using a rented auger makes the digging easier than using shovels and a posthole digger. Use an auger to bore (which means to dig) a 42″ deep hole.

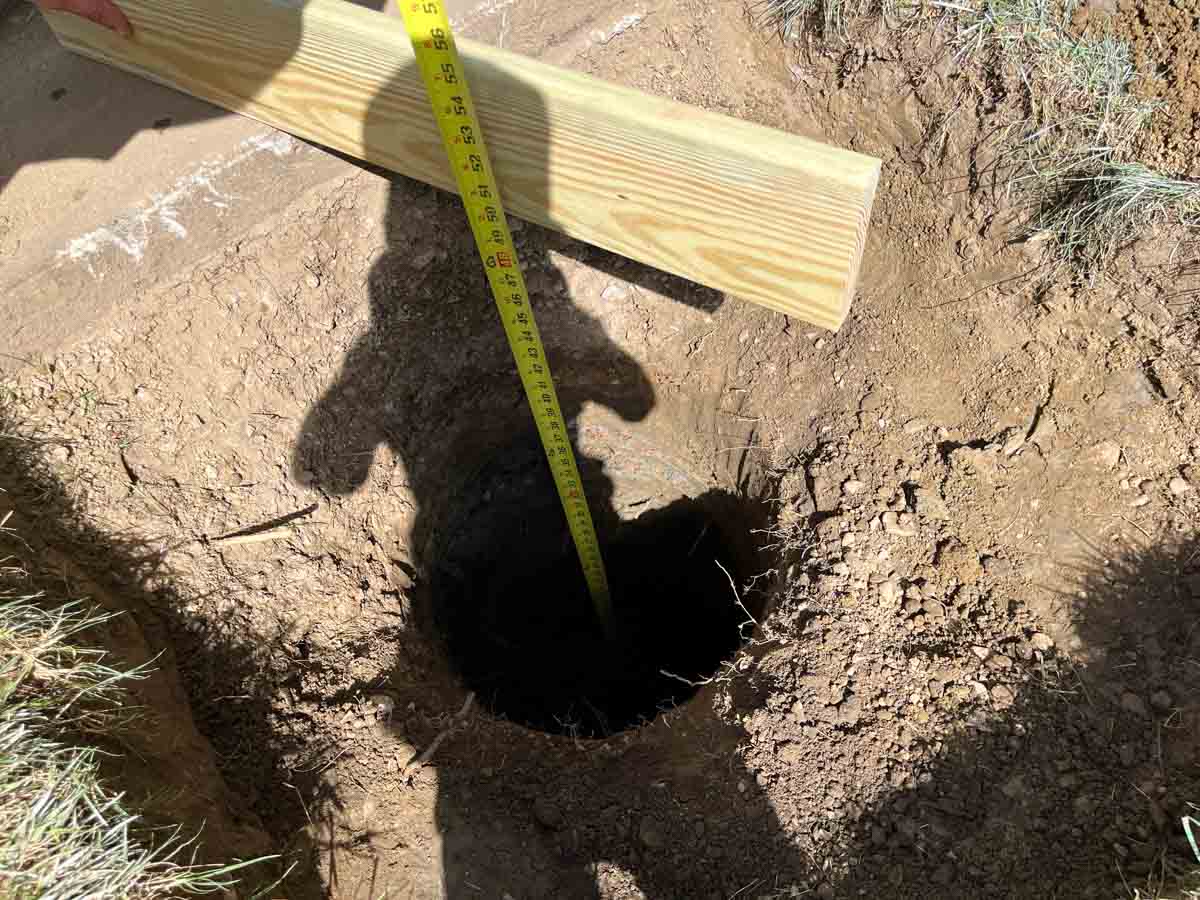
Step 6: Check Hole
When checking if your hole is deep enough, measure from the top of the driveway to the bottom of the hole. Our hole was 48″ deep due to being below the frost line for our area.

Step 7: Remove Extra Soil Produced
This will produce appx. ½ cubic yard of soil. Use a wheelbarrow to move accordingly. You will want to save some topsoil to spread out around the edges before planting grass seed after goal installation.
Pouring The Pad
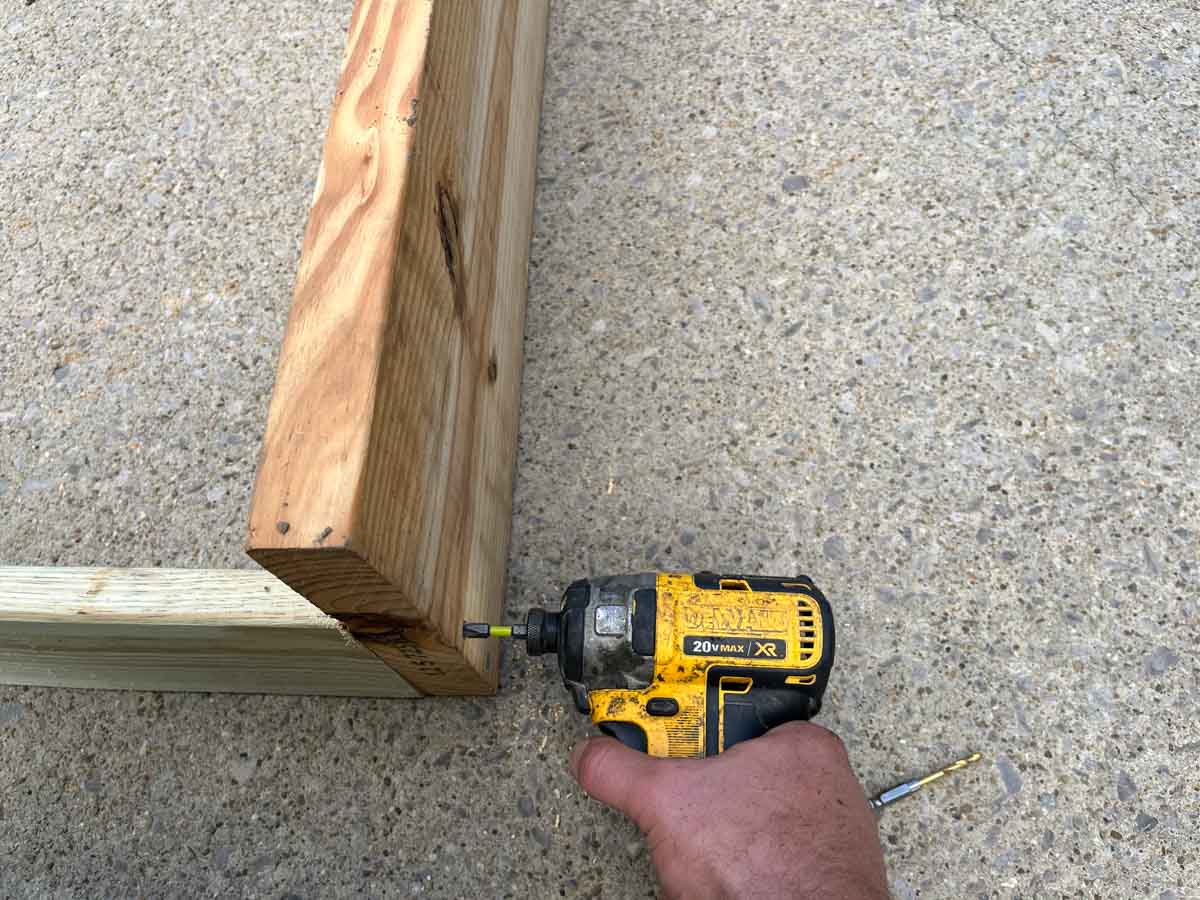
Step 8: Make and Secure The Form
To make the form you will need to cut 2 x 4s or 2 x 6s and screw them together.

Set the form the in hole. Use a 4′ level to level each side. Secure forms to nail stakes once level.


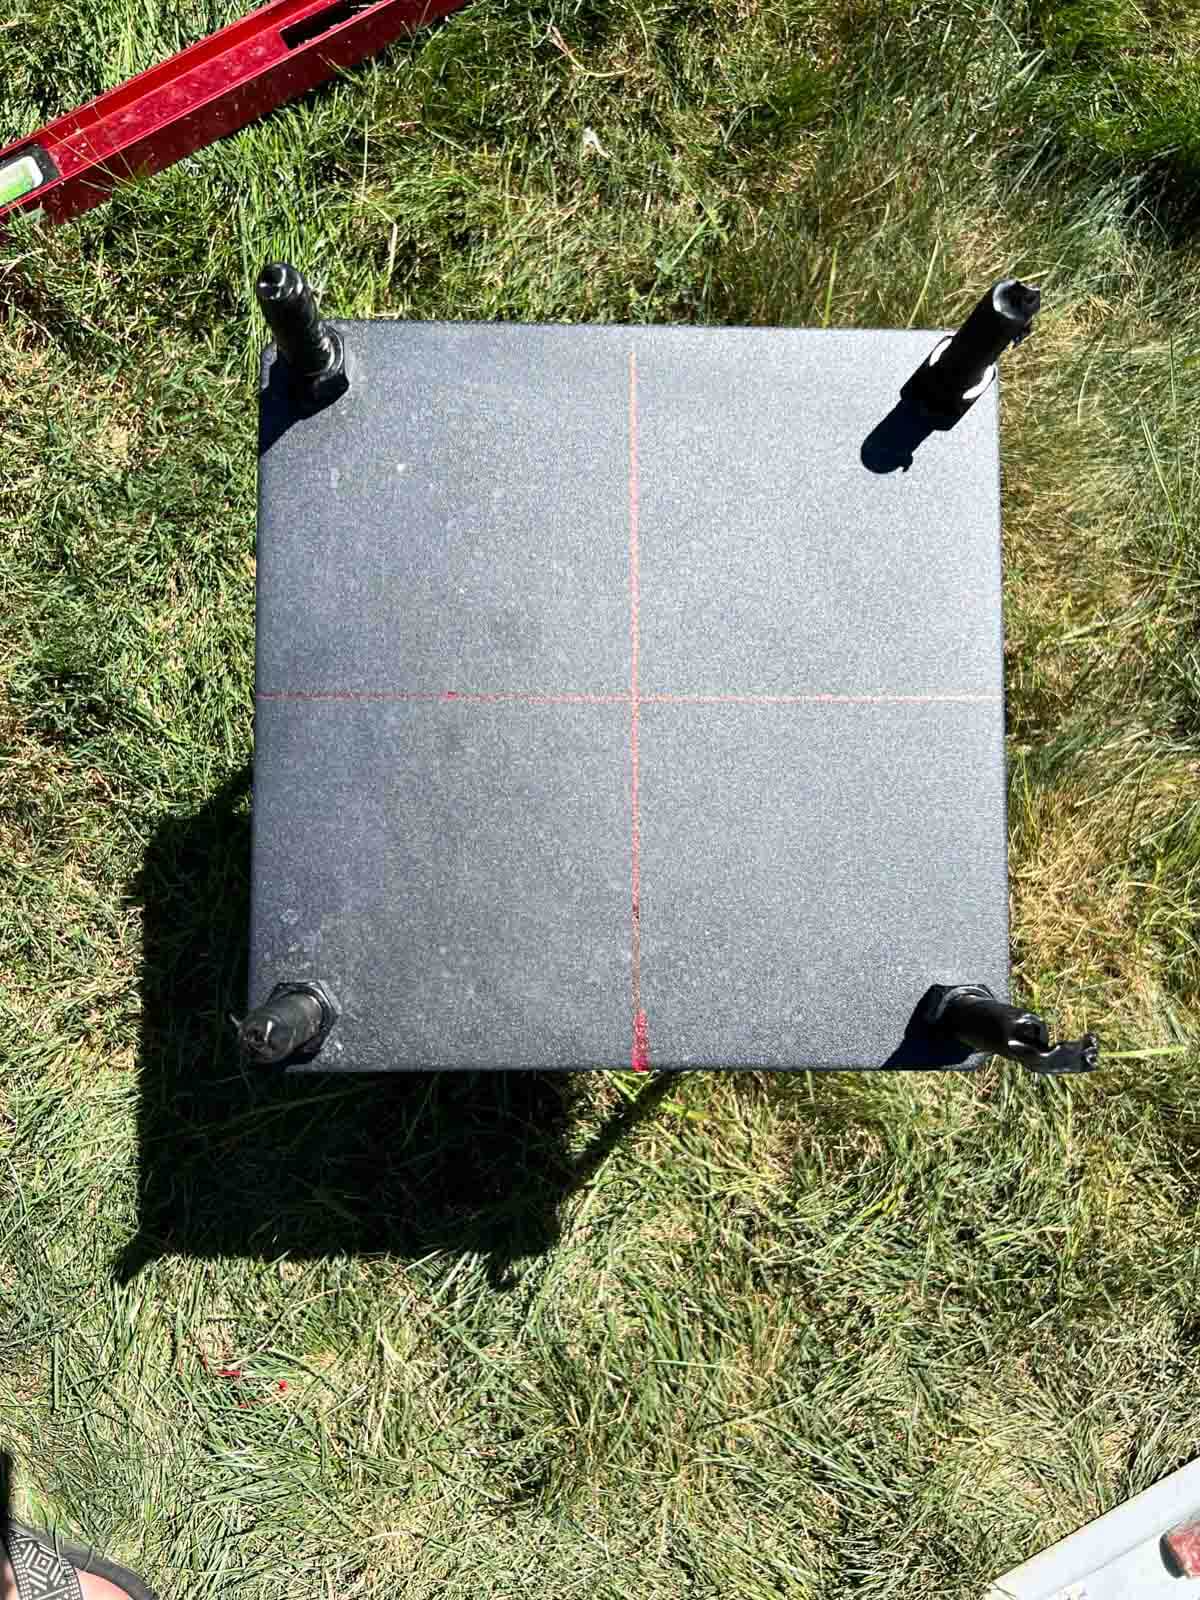
Step 9: Mark Anchor Plate
Assemble the anchor bolt template and mark the centerlines (in each direction) on the top of the steel template. The anchor bolt template should be included in your hoop.
Wrap electrical tape or any tape around the top of the exposed bolt threads.
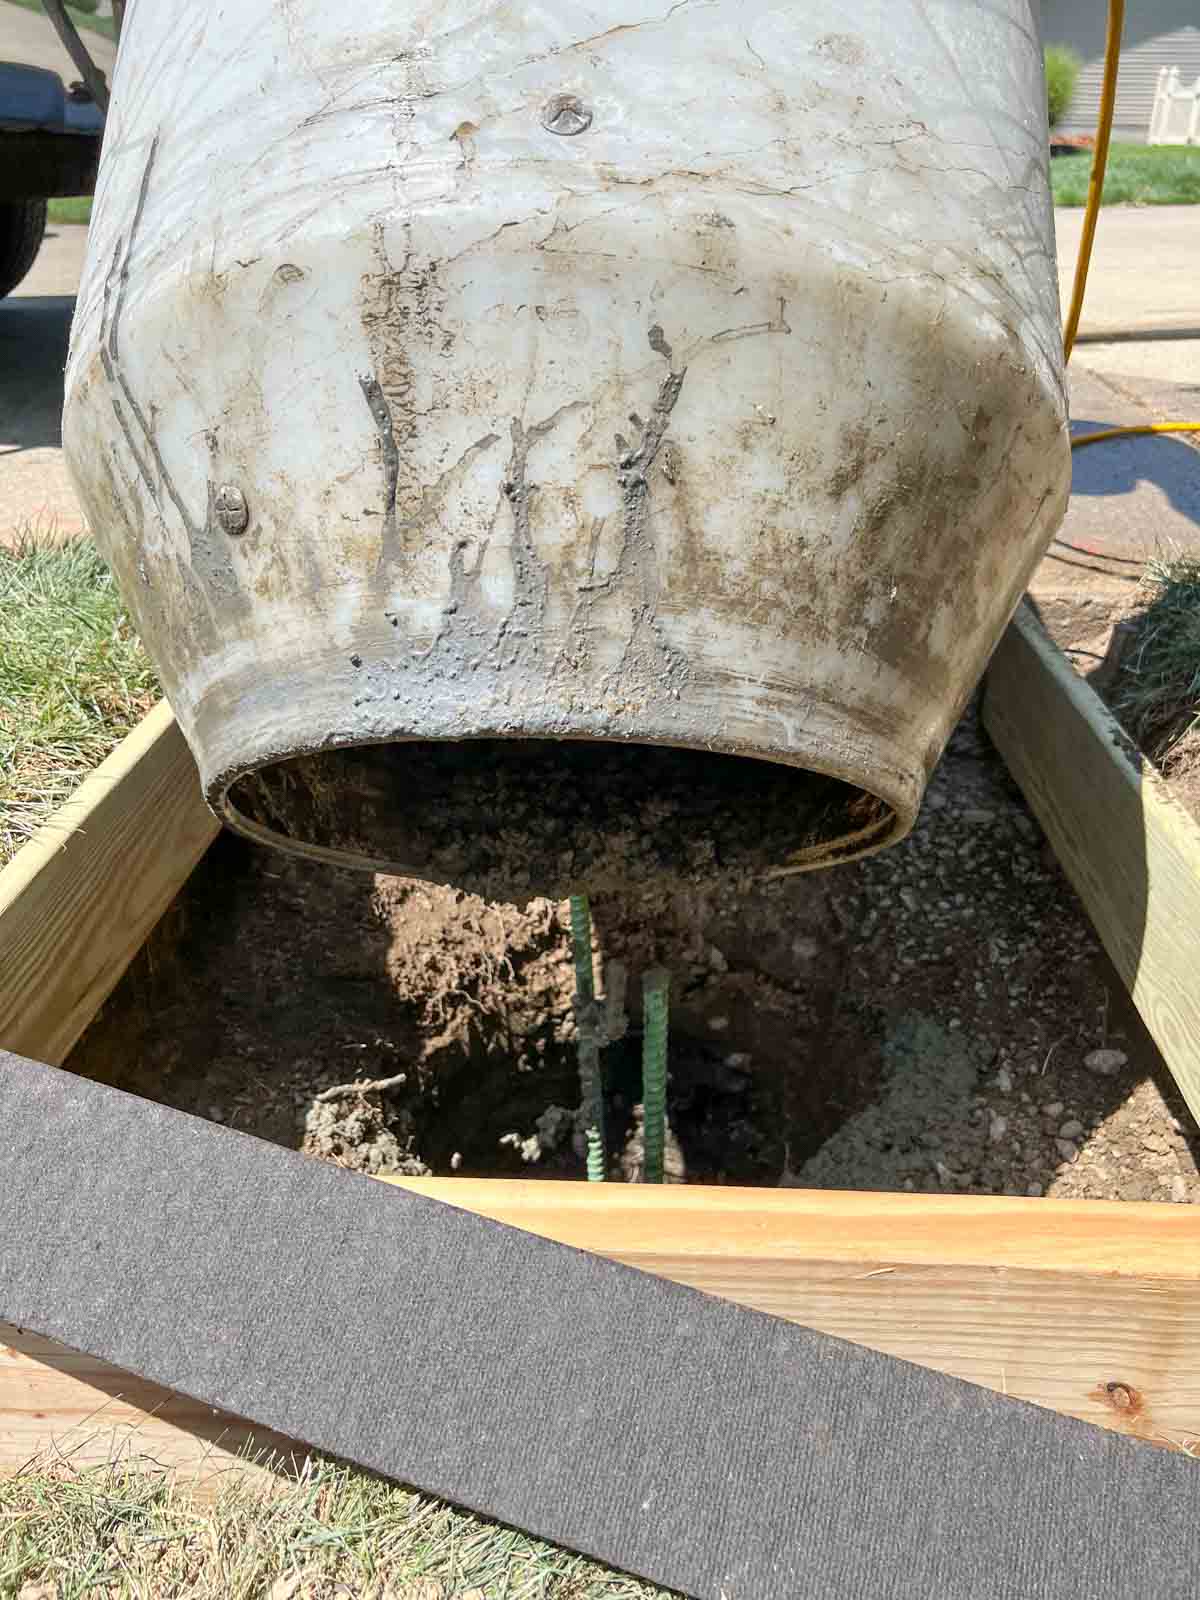
Step 10: Mix Concrete And Pour
Mix bags of Quickcrete concrete. Mix one bag at a time in a barrel mixer and pour directly into the hole.
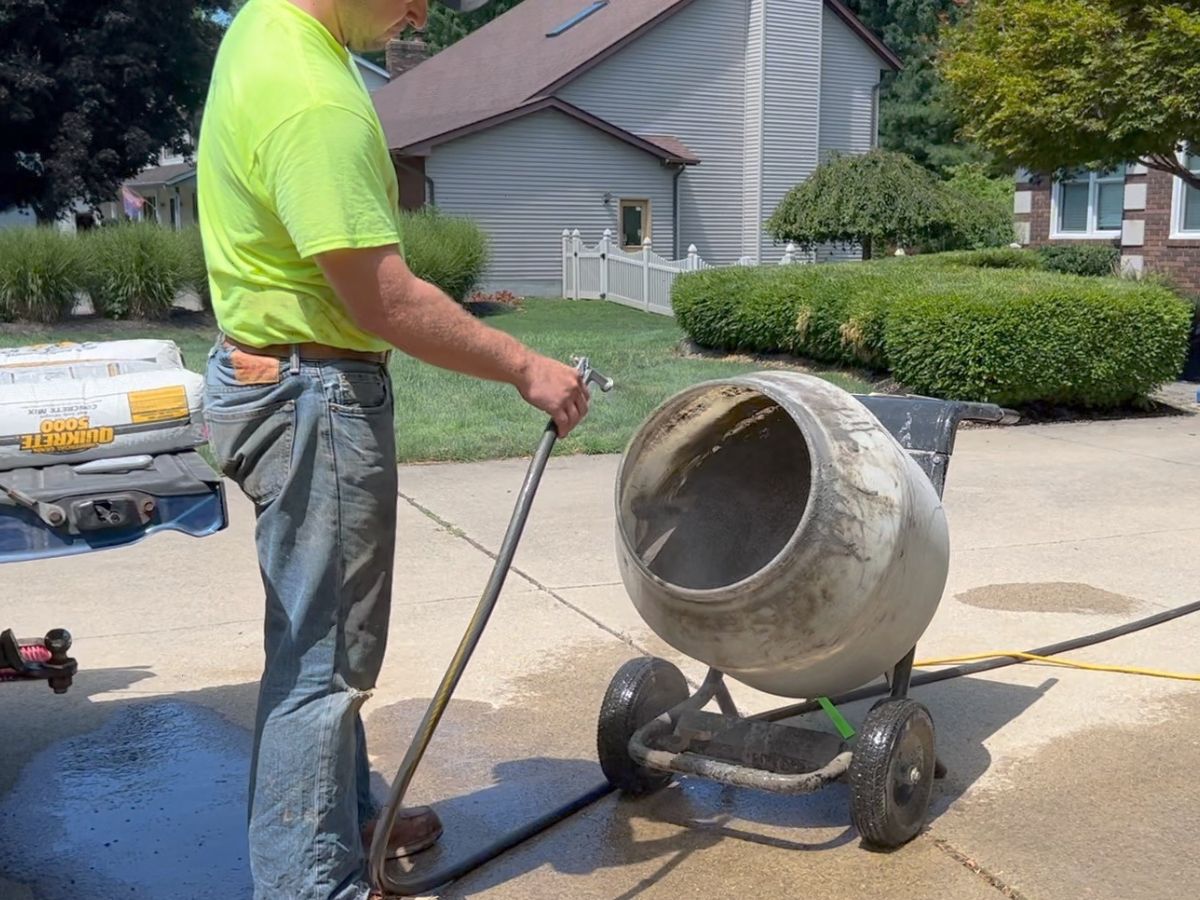

If you do not have a barrel mixer you can mix the concrete in a wheelbarrow. I typically pour the first bag of concrete into the hole un-mixed. This will help to take care of any groundwater.
Step 12: Consolidate The Concrete
As you pour the concrete in the hole you need to consolidate it by vibrating it or plunging it with a shovel.
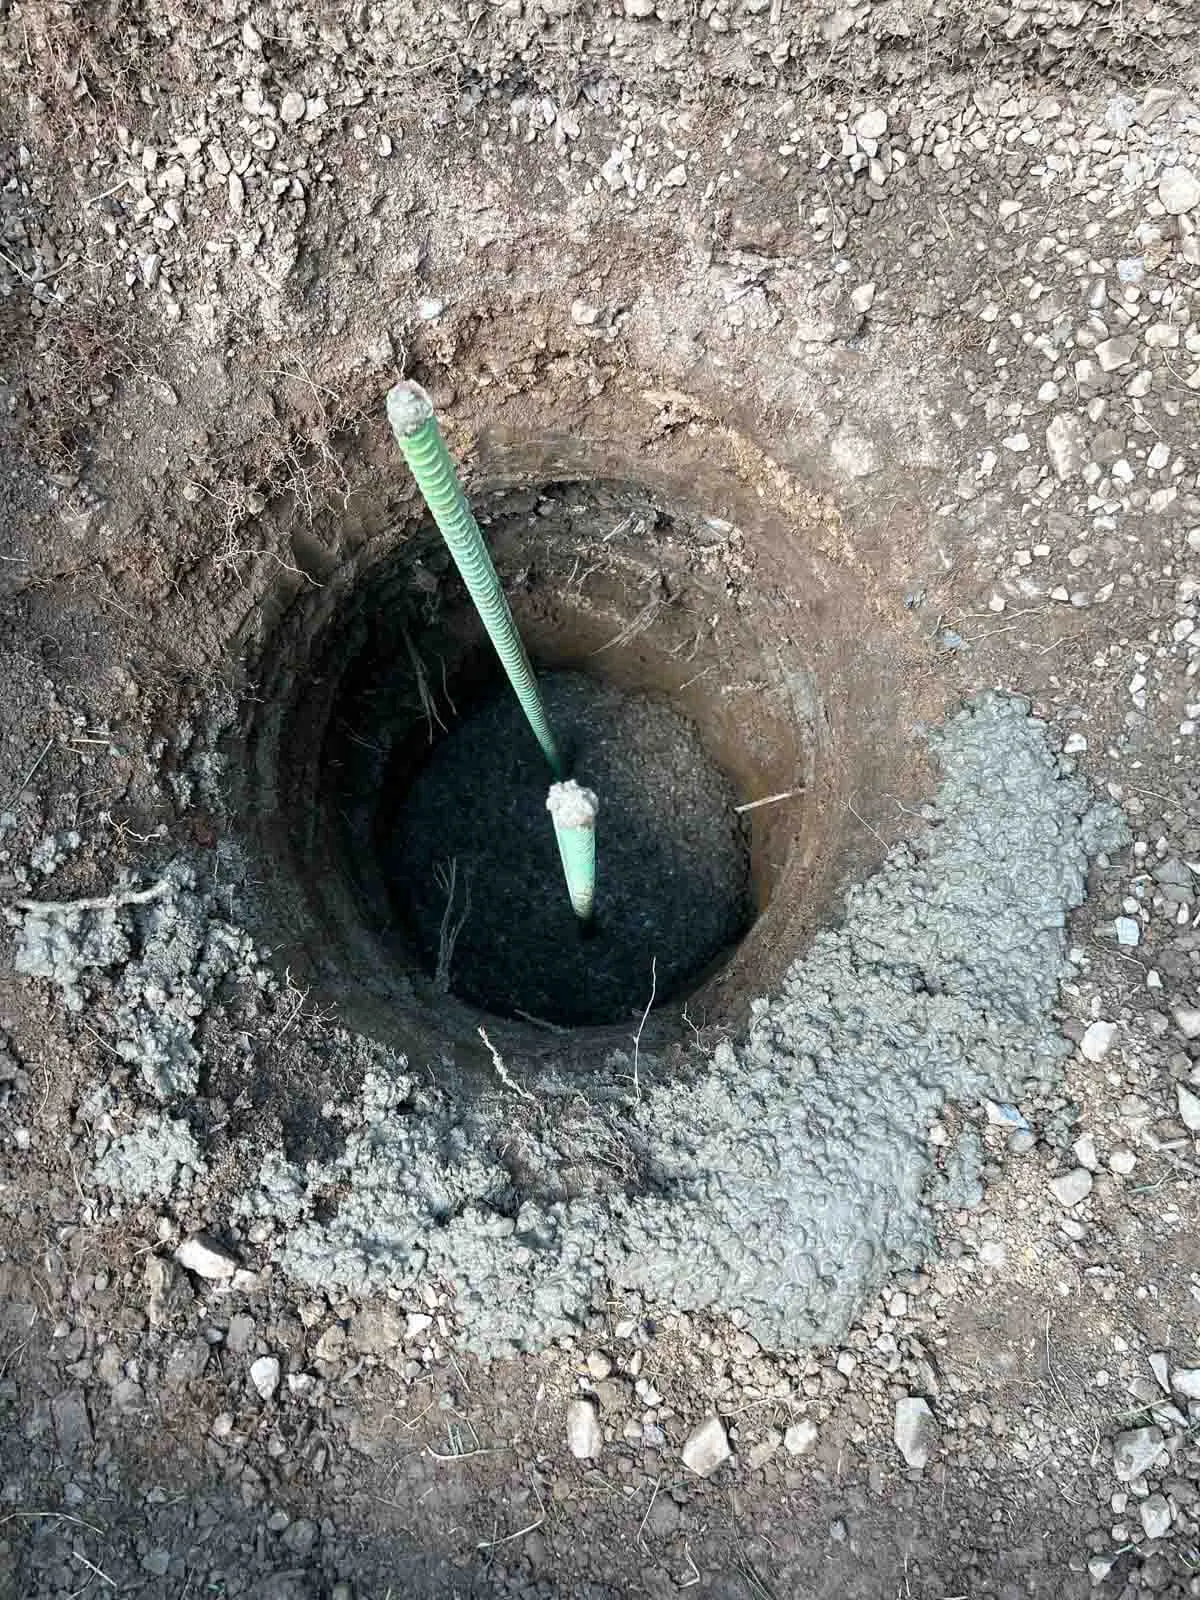
Step 13: Insert Rebar
When you get ¾”s of the way up, you need to insert rebar (circular reinforcing steel) per directions. Read your installation manual to find out when you should install your rebar. Our rebar was included with our hoop.

Step 14: Continue Filling With Concrete
Fill the hole to the top of the forms.

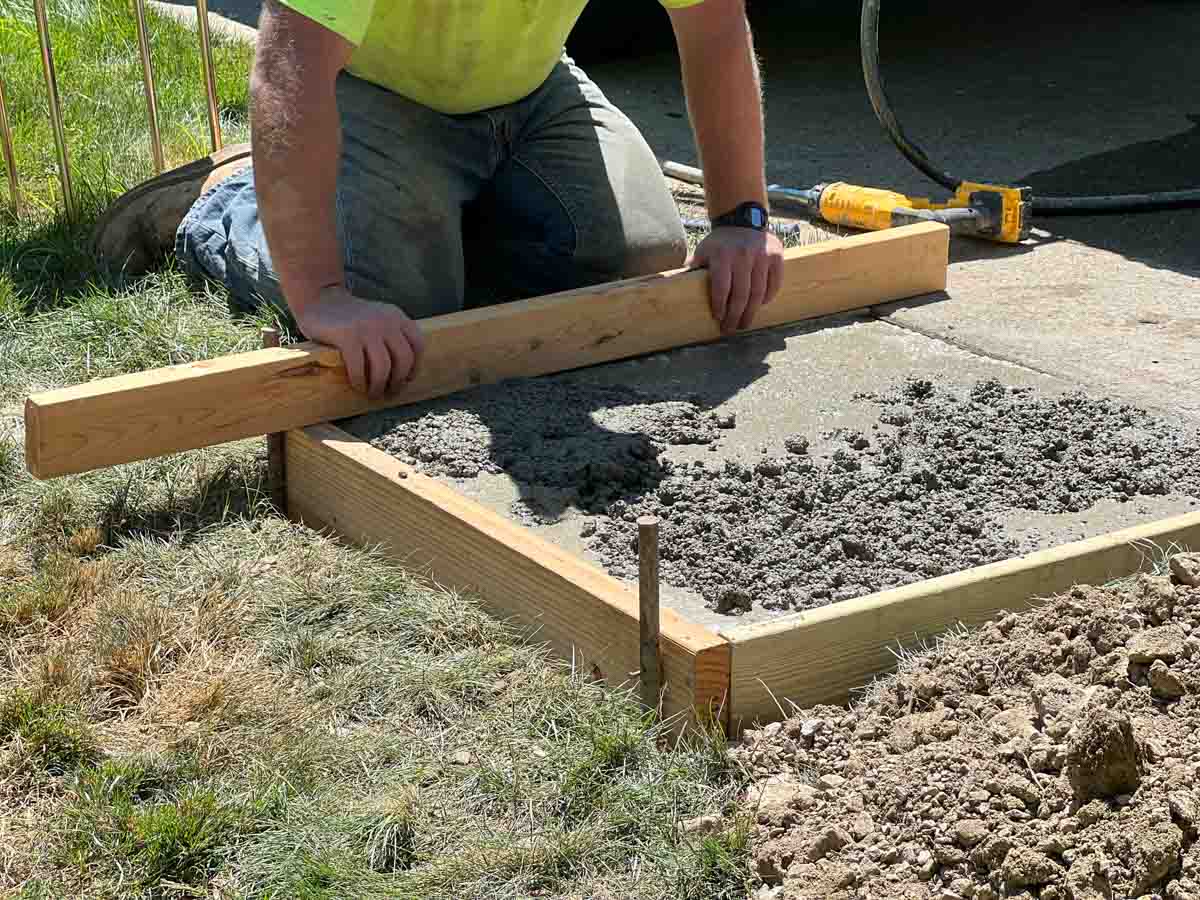
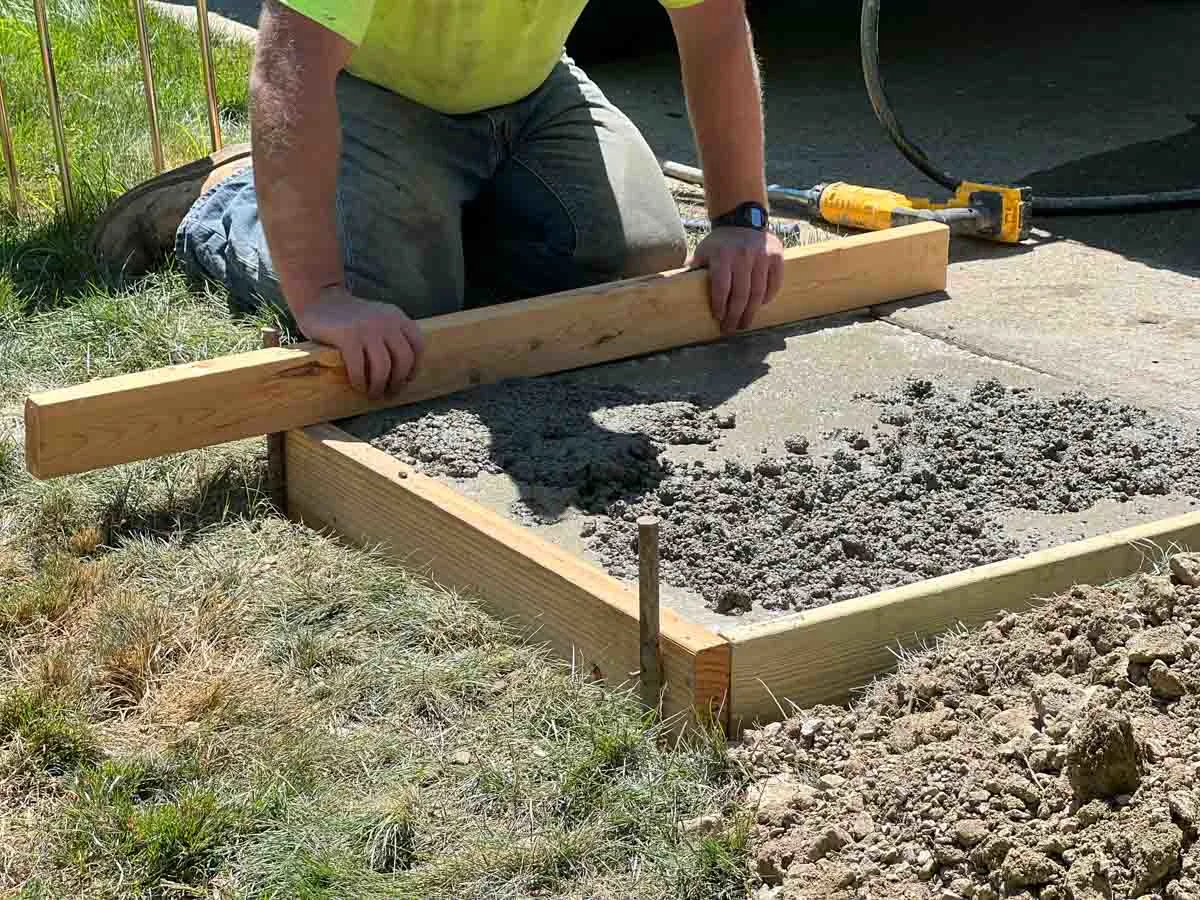
Step 15: Strike Off The Top
Use an old 2×4 or another straight edge to “strike off” the top of the concrete flush with the top of the forms.
Step 16: Set Anchor Bolts
Use the same 2×4 to lightly mark the center of your concrete pad.

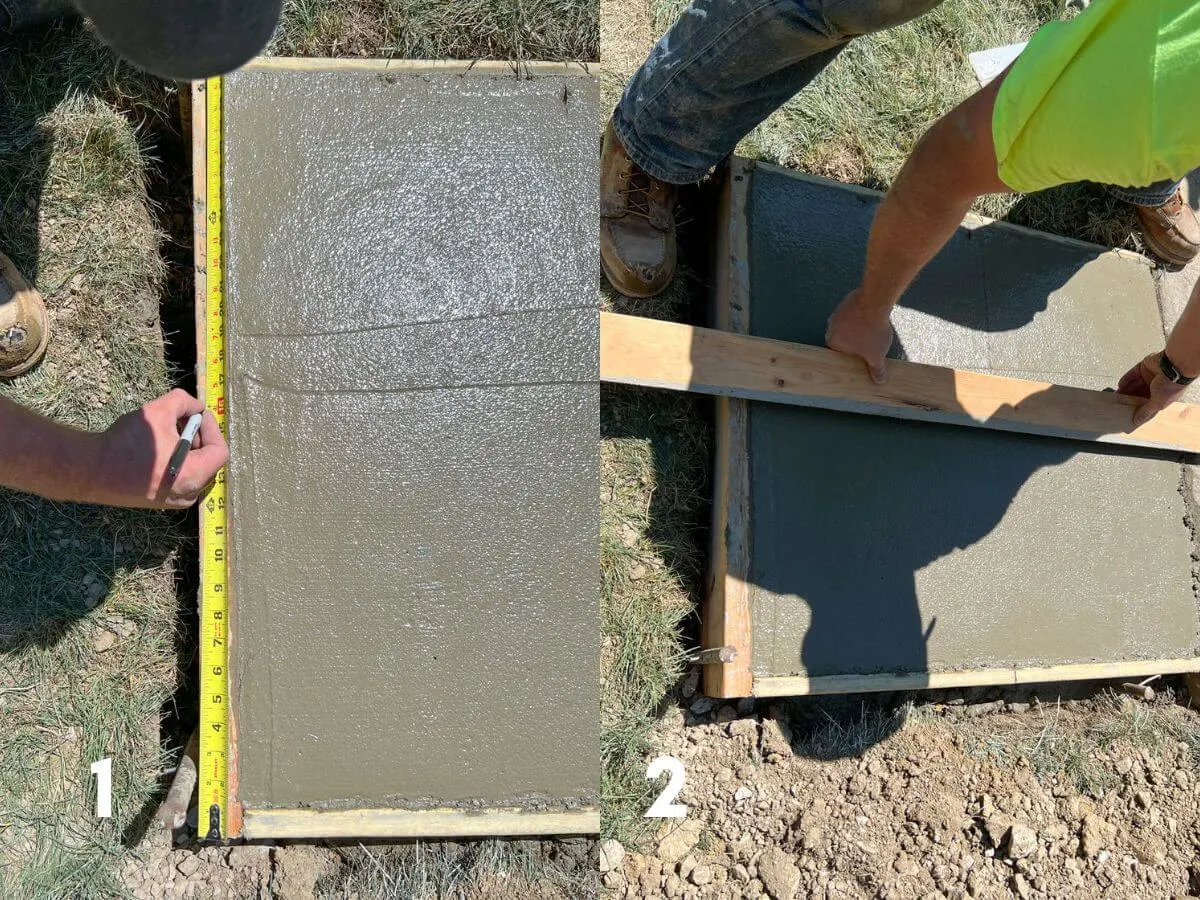
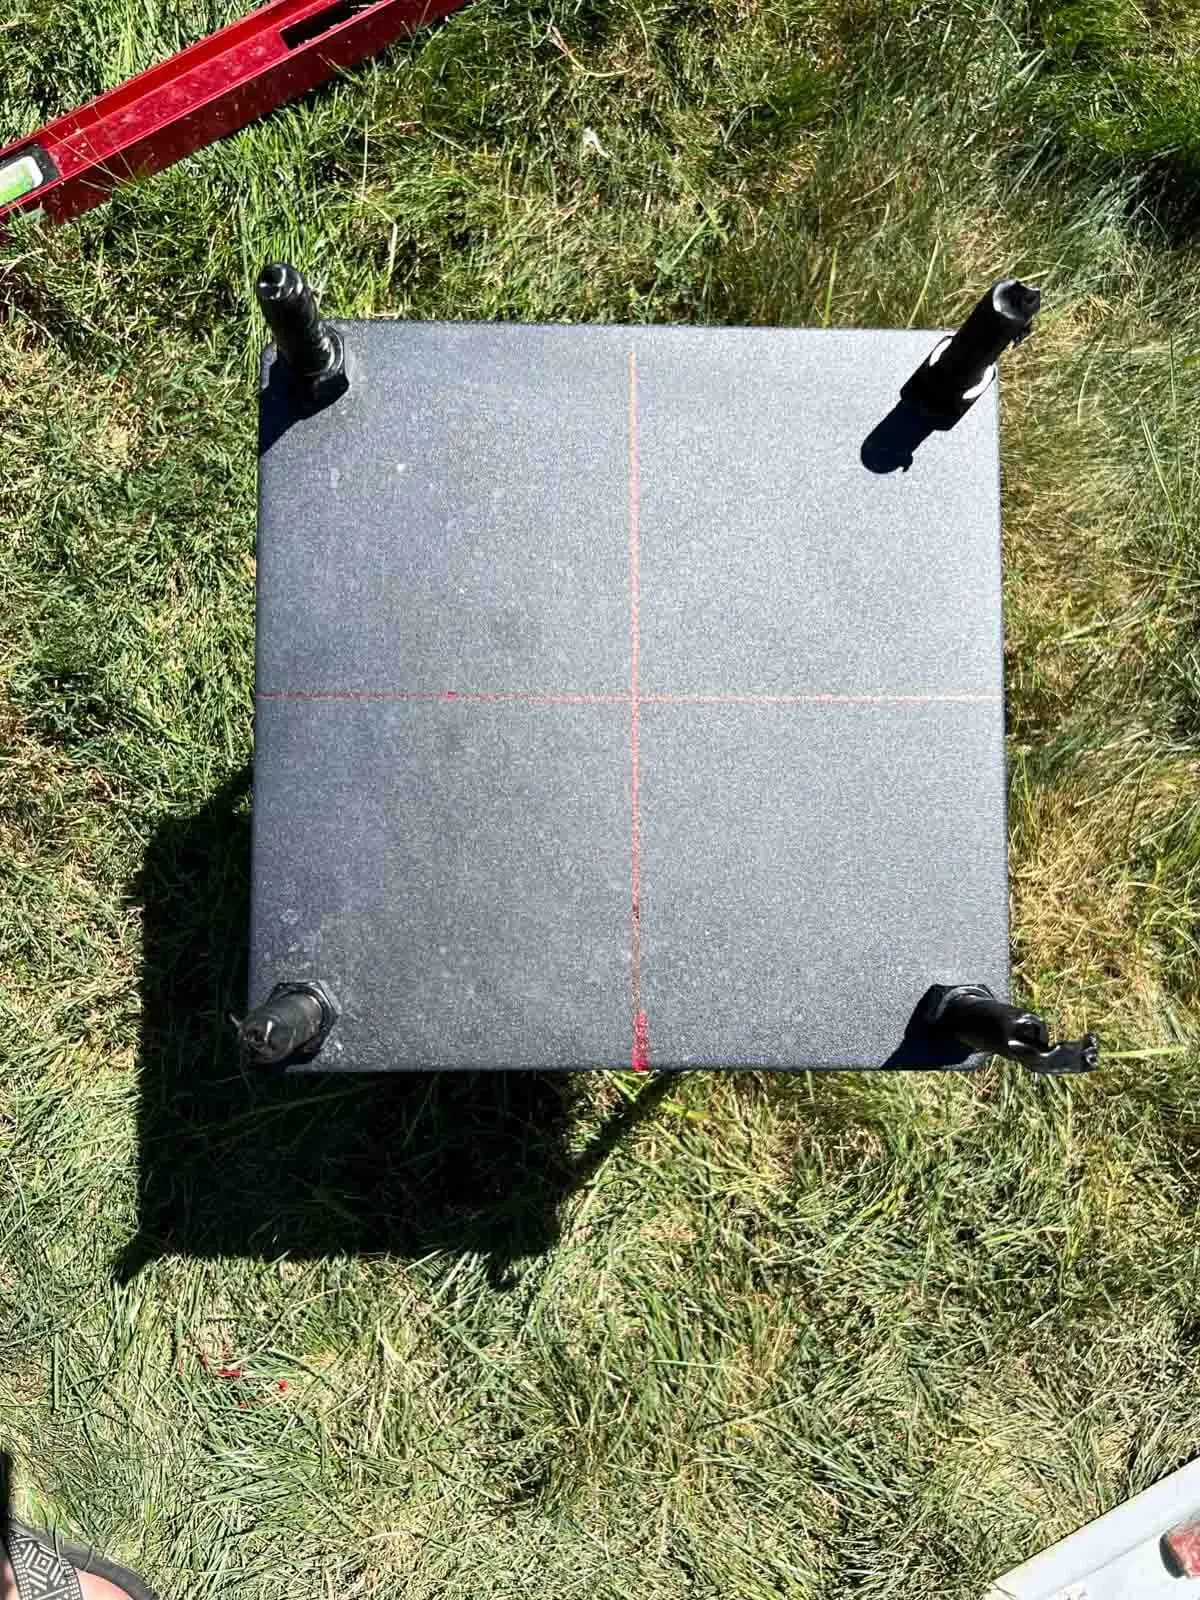
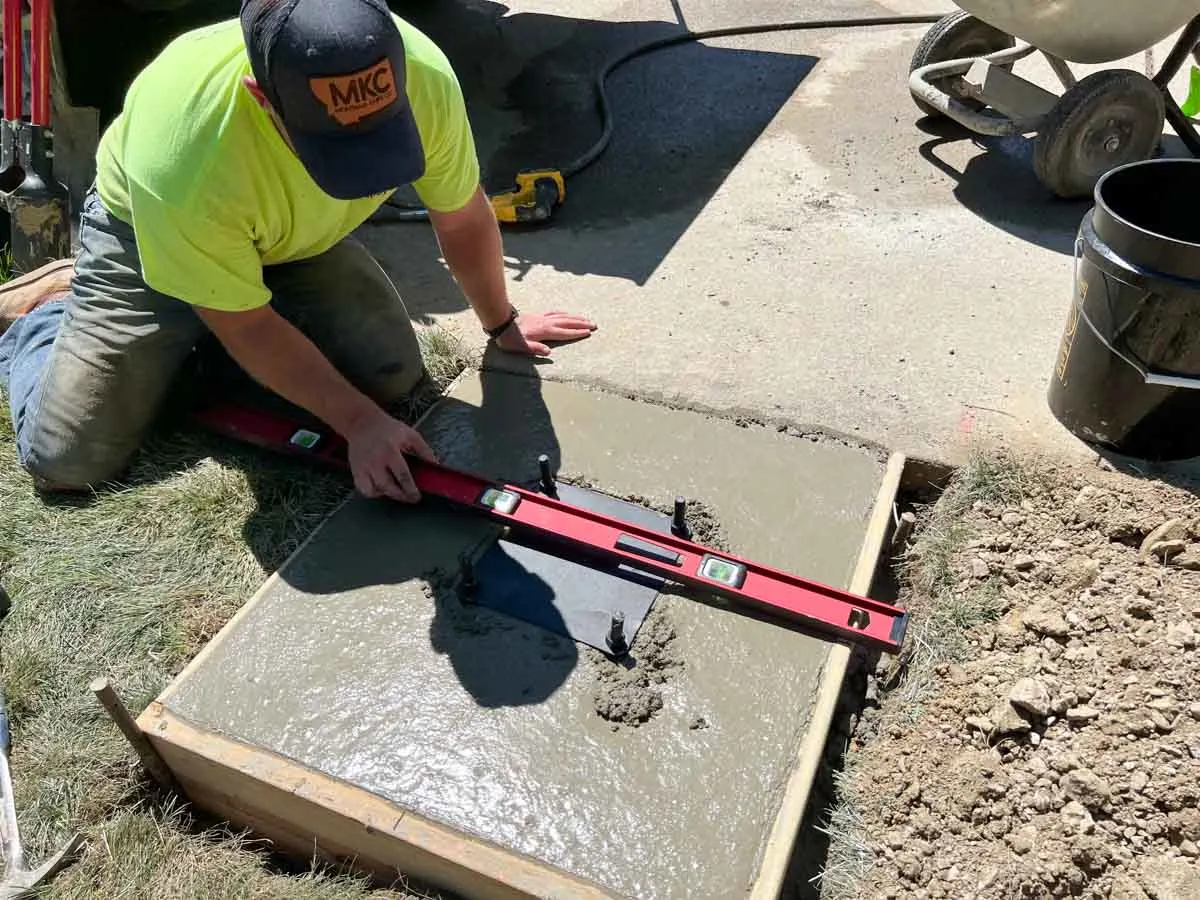
Line up the center of the marked bolt template over the marked center pad. Begin to evenly push down.


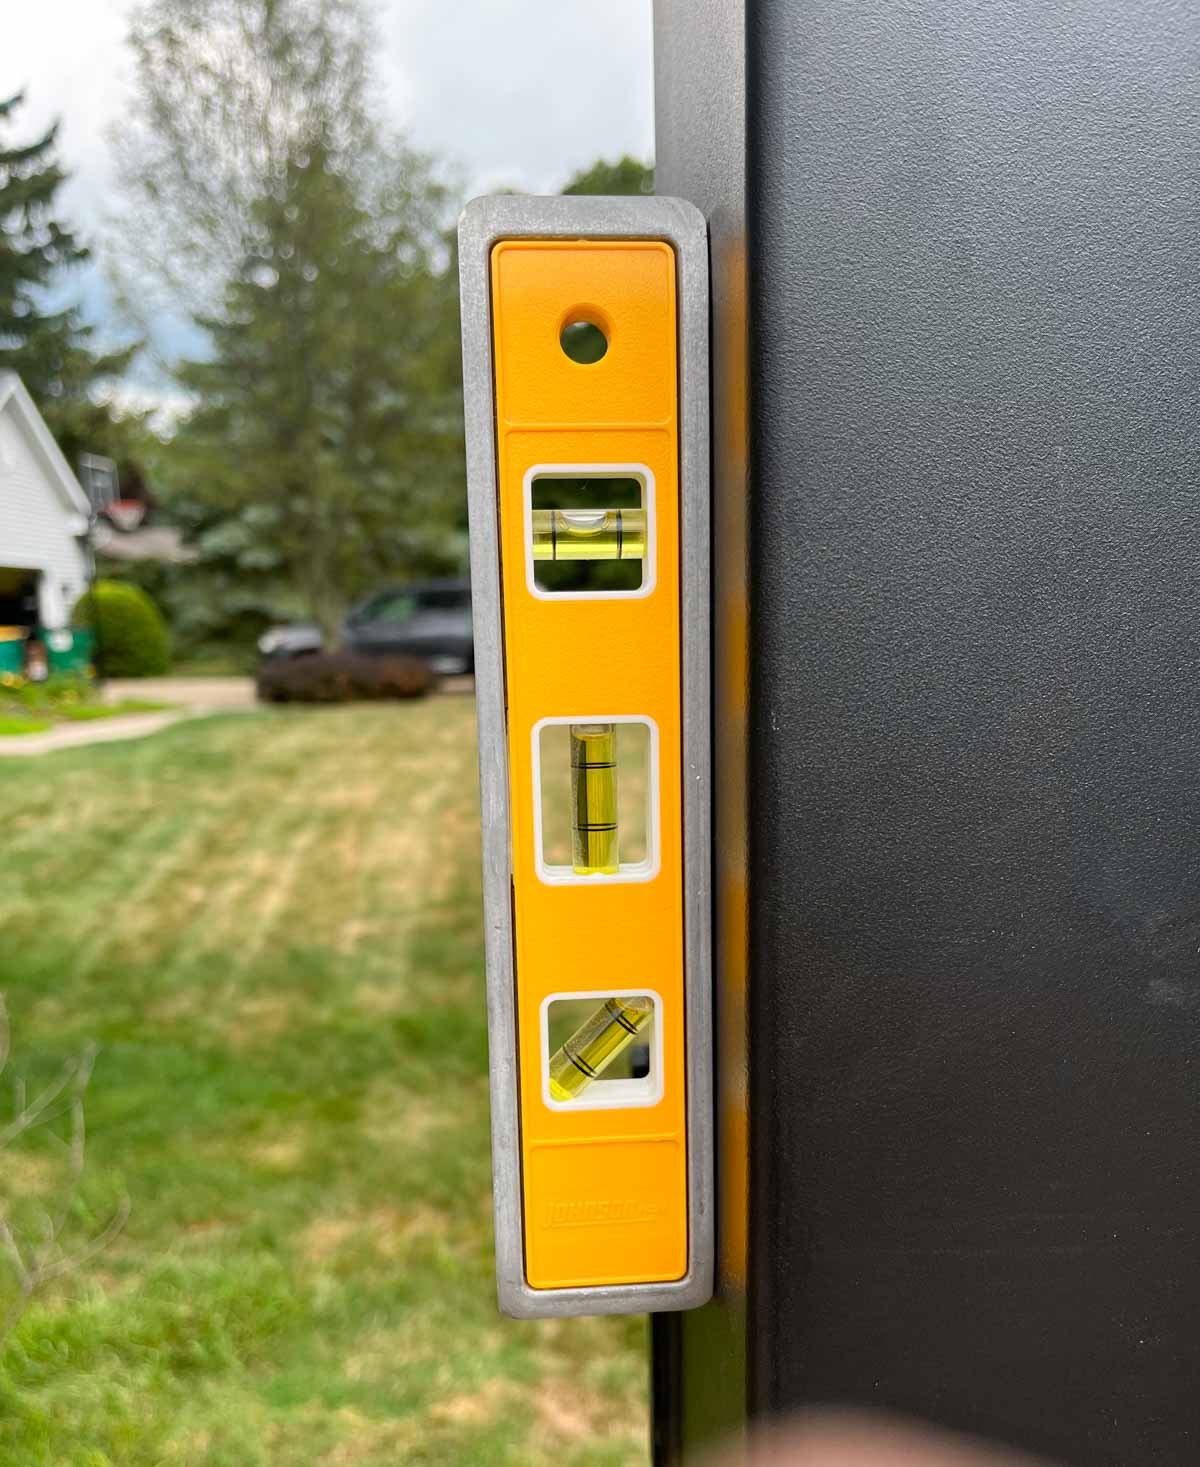
Once you have pushed the anchor bolts down, you want to check that the plate is level.

Step 17: Finish Concrete
As the concrete sets up “finish it” with a float. The idea is to “rub it” smooth with a cement trowel.
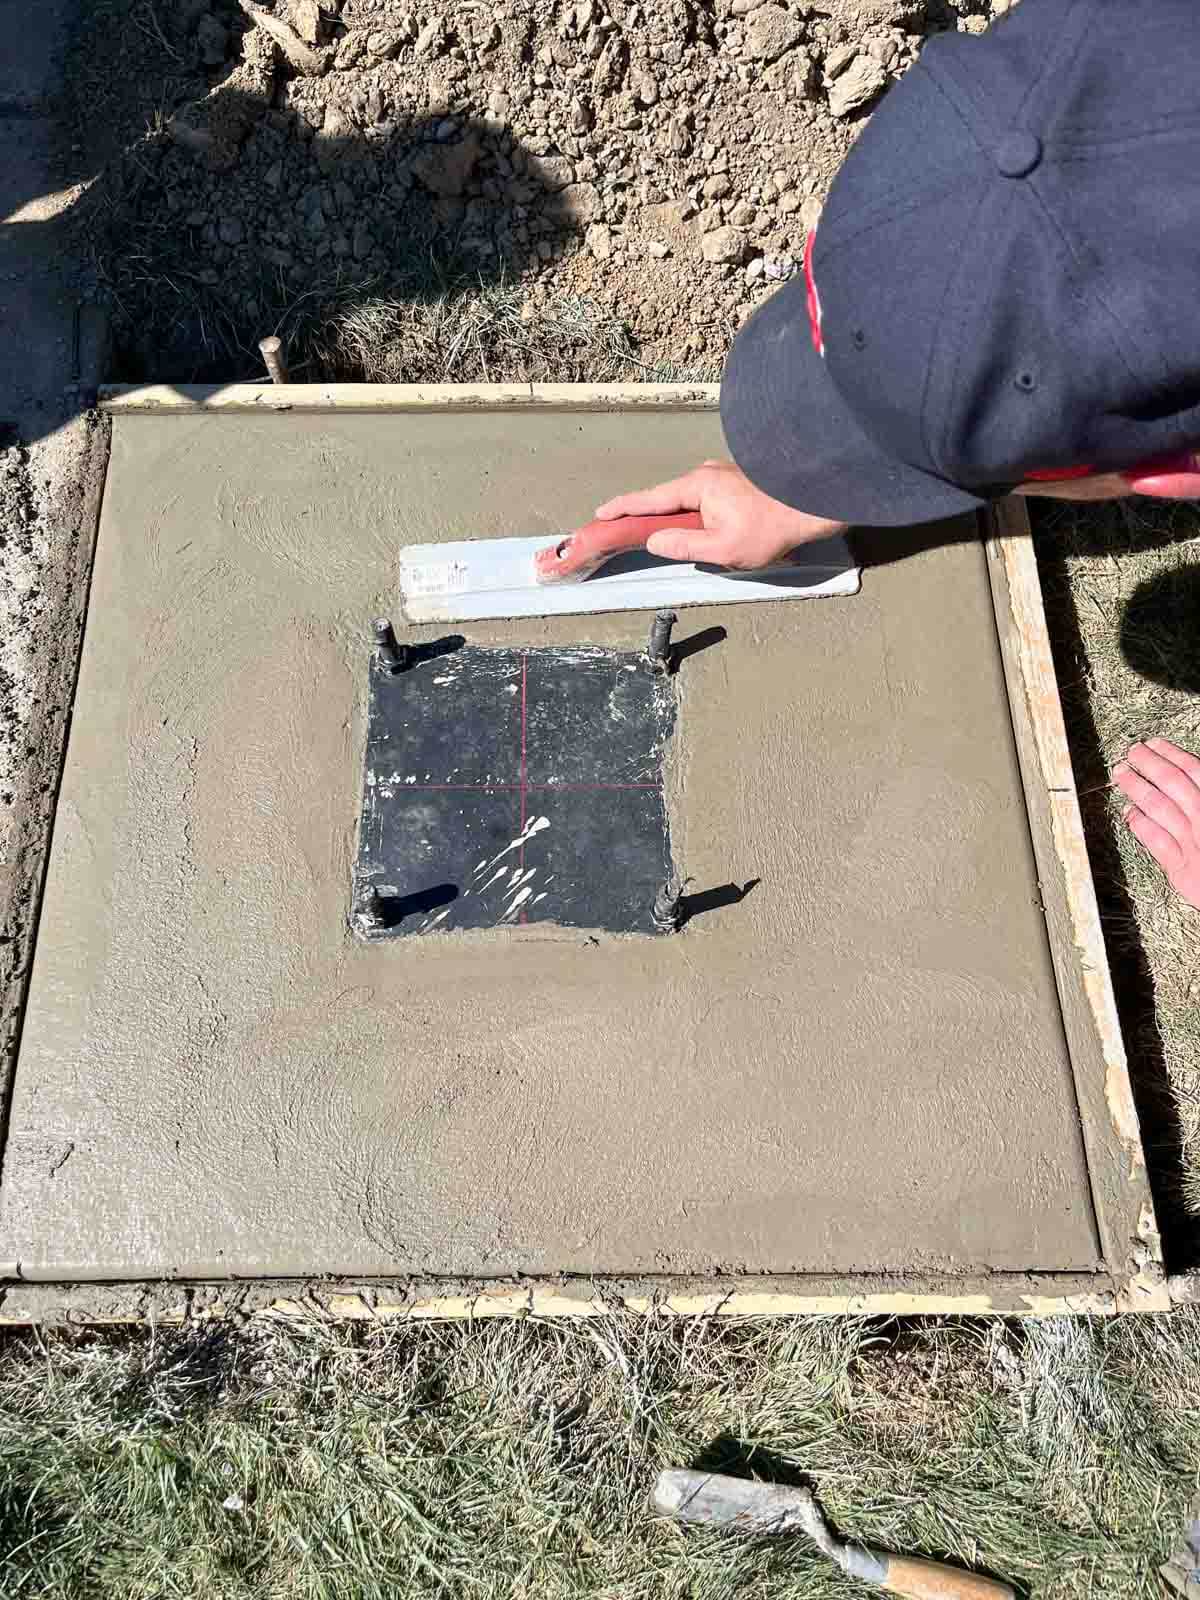

Once smooth, you can “pull” a broom across it to give it some traction. This is called creating a “broom” finish.
Step 18: Spray Concrete Curing Agent
Once the concrete is set up spray or a broom a concrete curing agent or sealer.
Step 19: Wait One Week
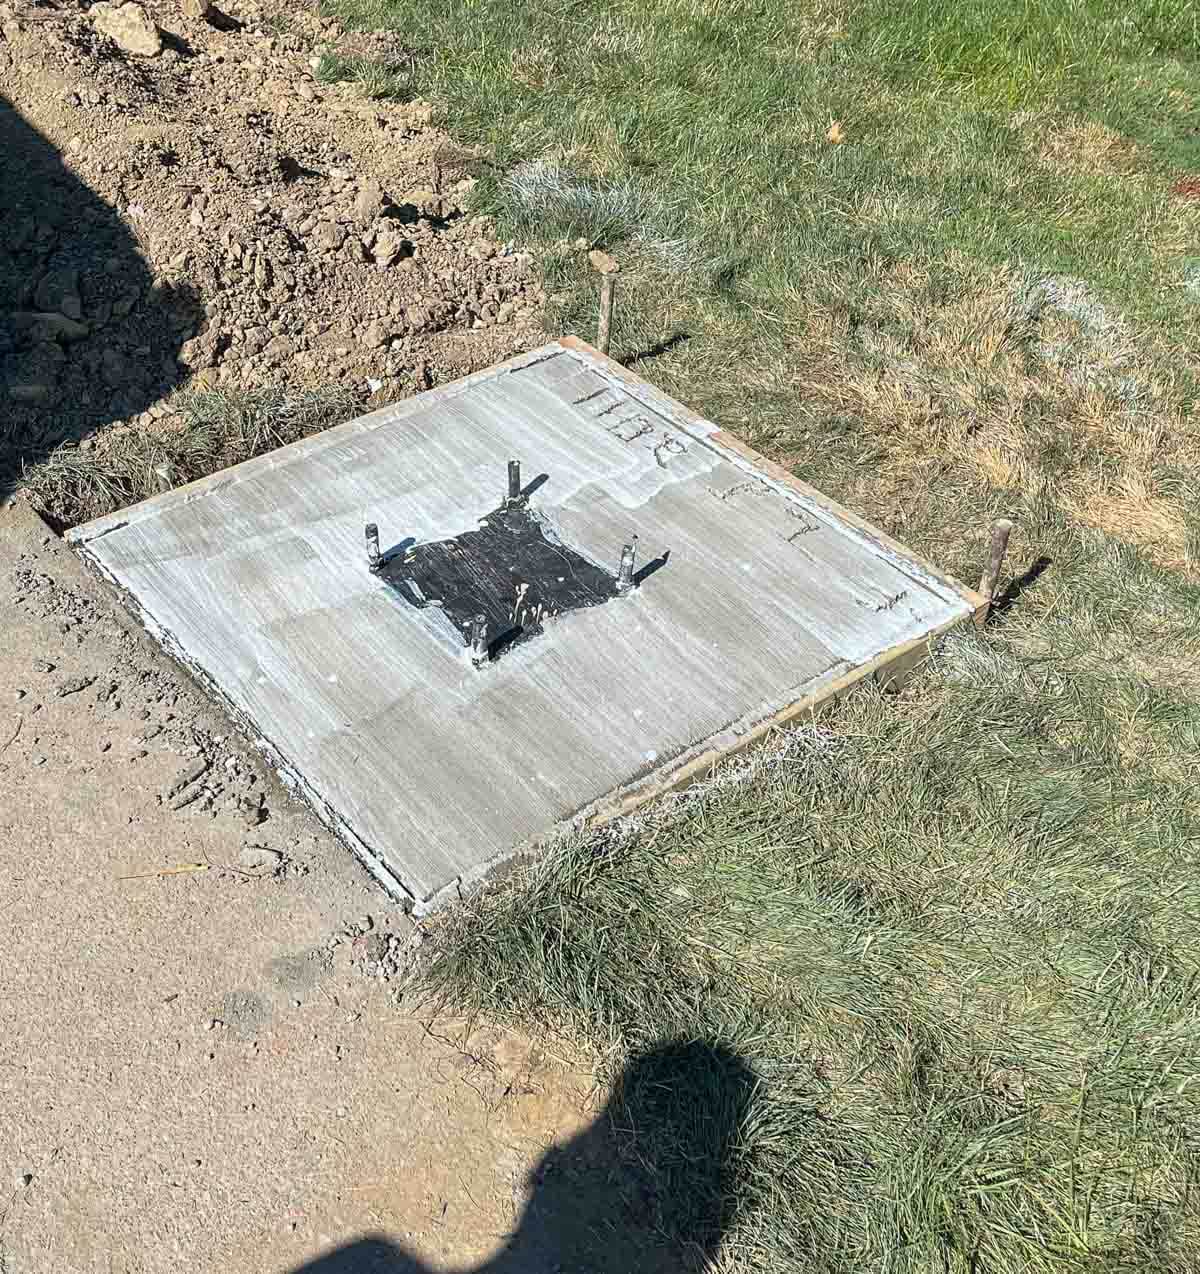
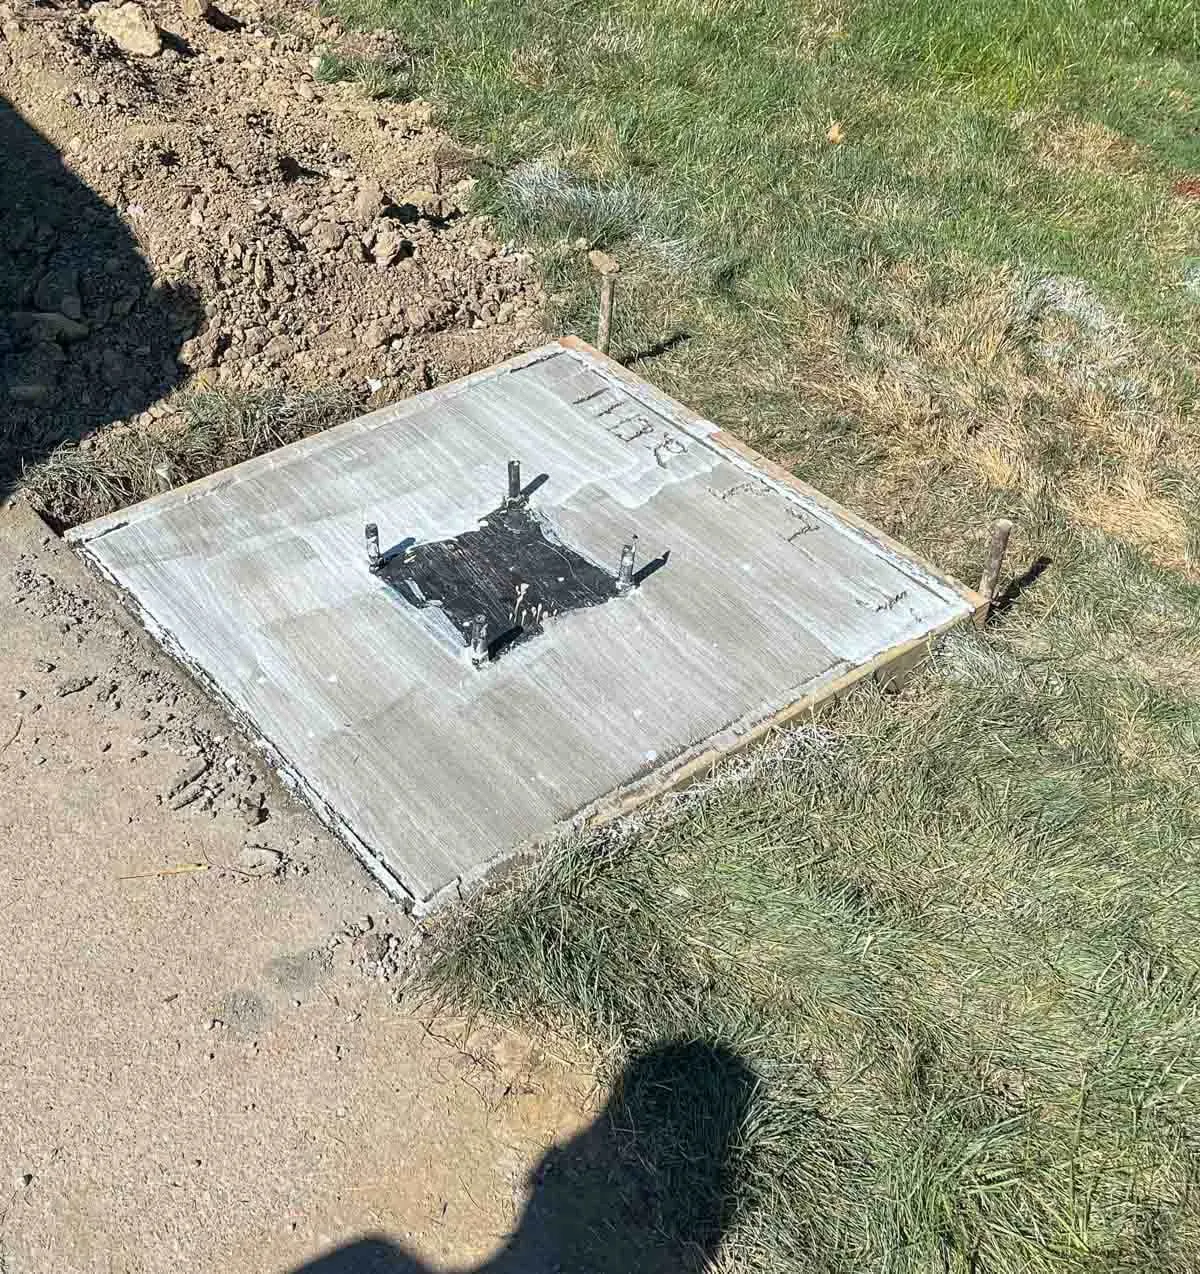
Step 20: Pull The Concrete Forms
Once you take off the 2 x 4s, fill around the edges with saved topsoil & seed.
Step 21: Install Hoop
Your instruction manual will tell you the tools you need to continue with installation. Here is what we needed.
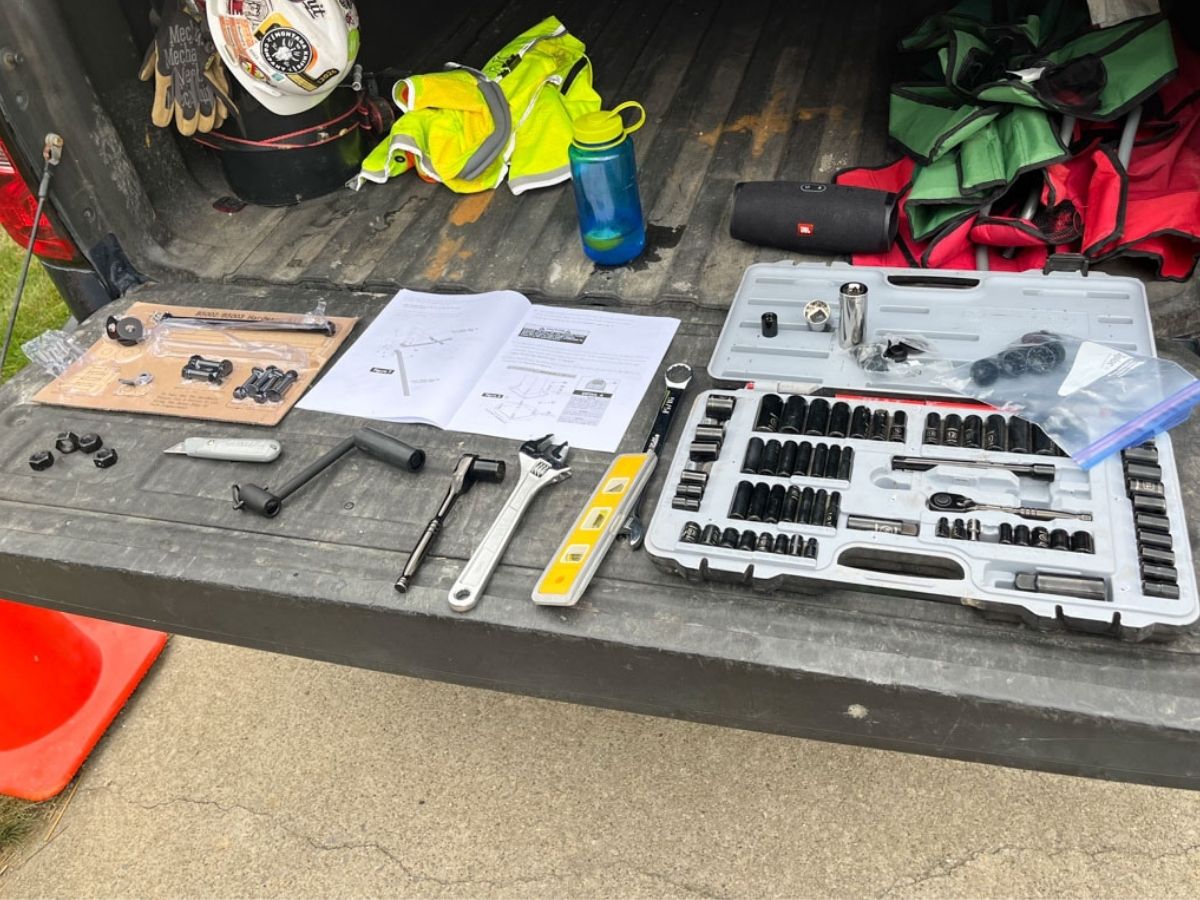
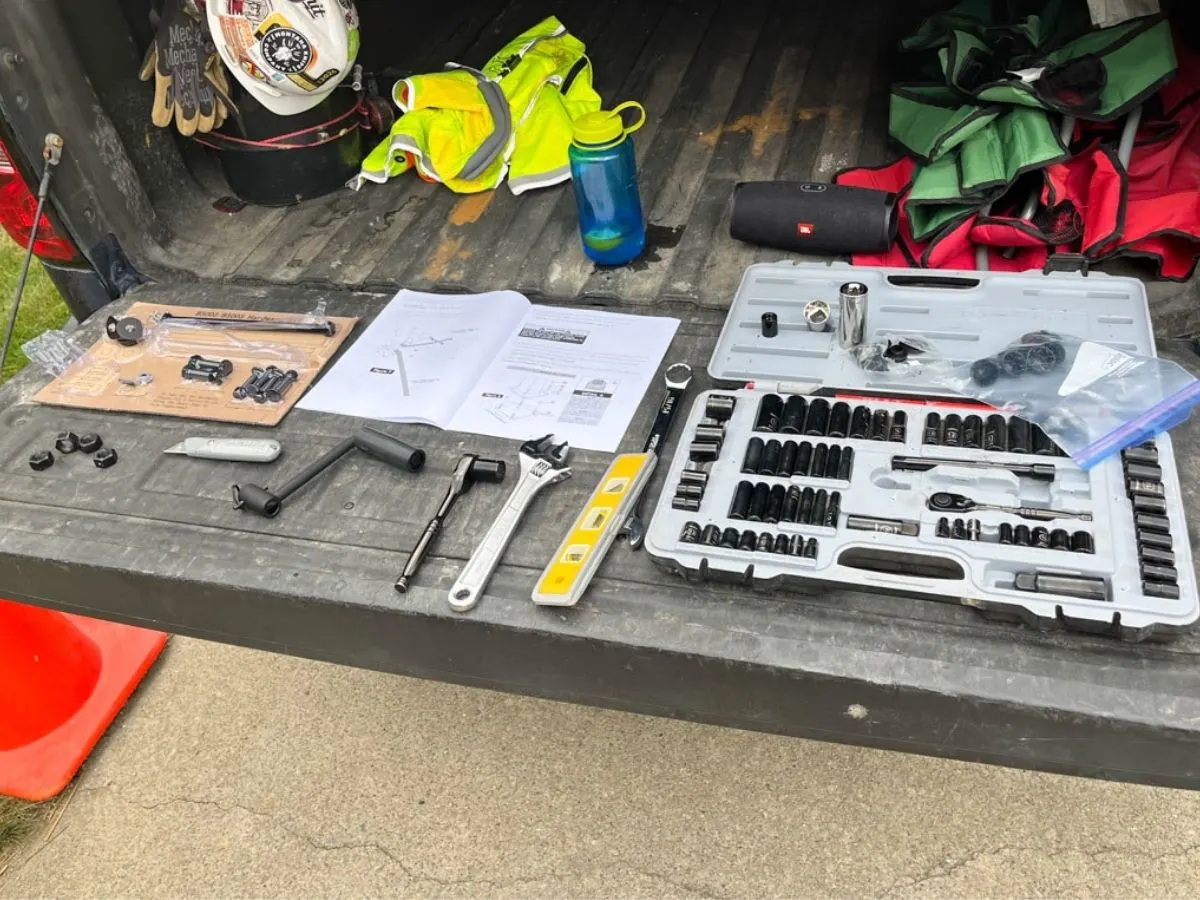
Proceed with directions for basketball hoop installation (pole and backboard).

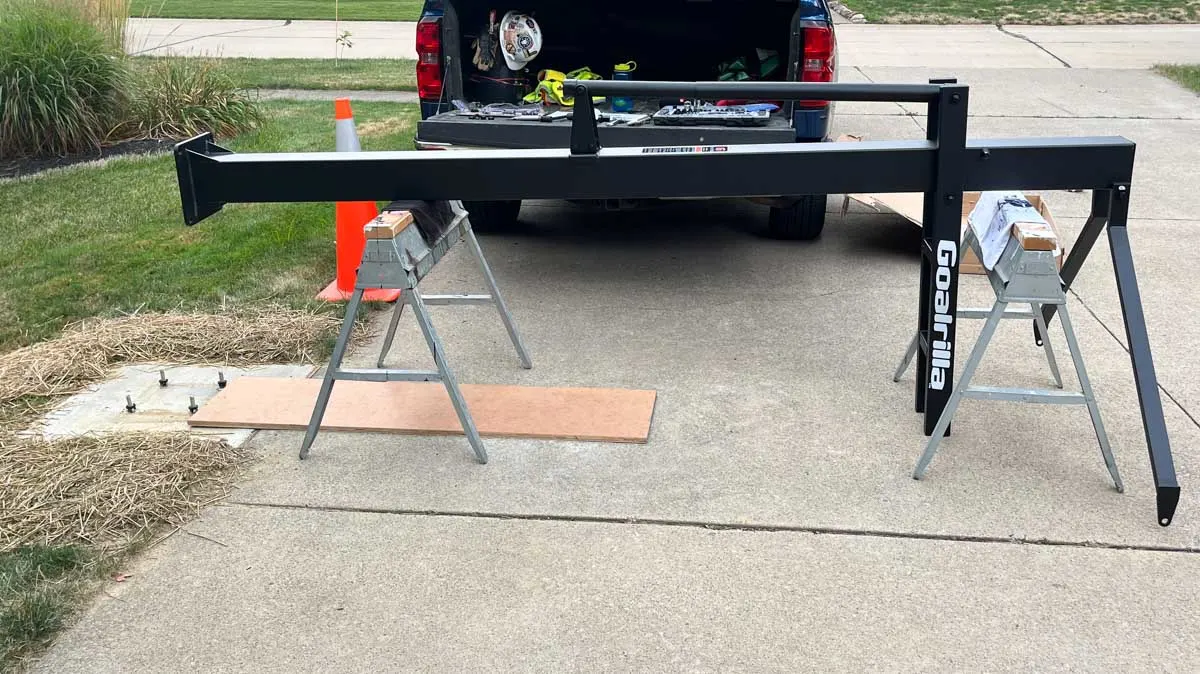
The best way to install the backboard is to rent a lift to assist after you get the basketball pole in place. This will make it easier than trying to hold up to install the whole backboard.

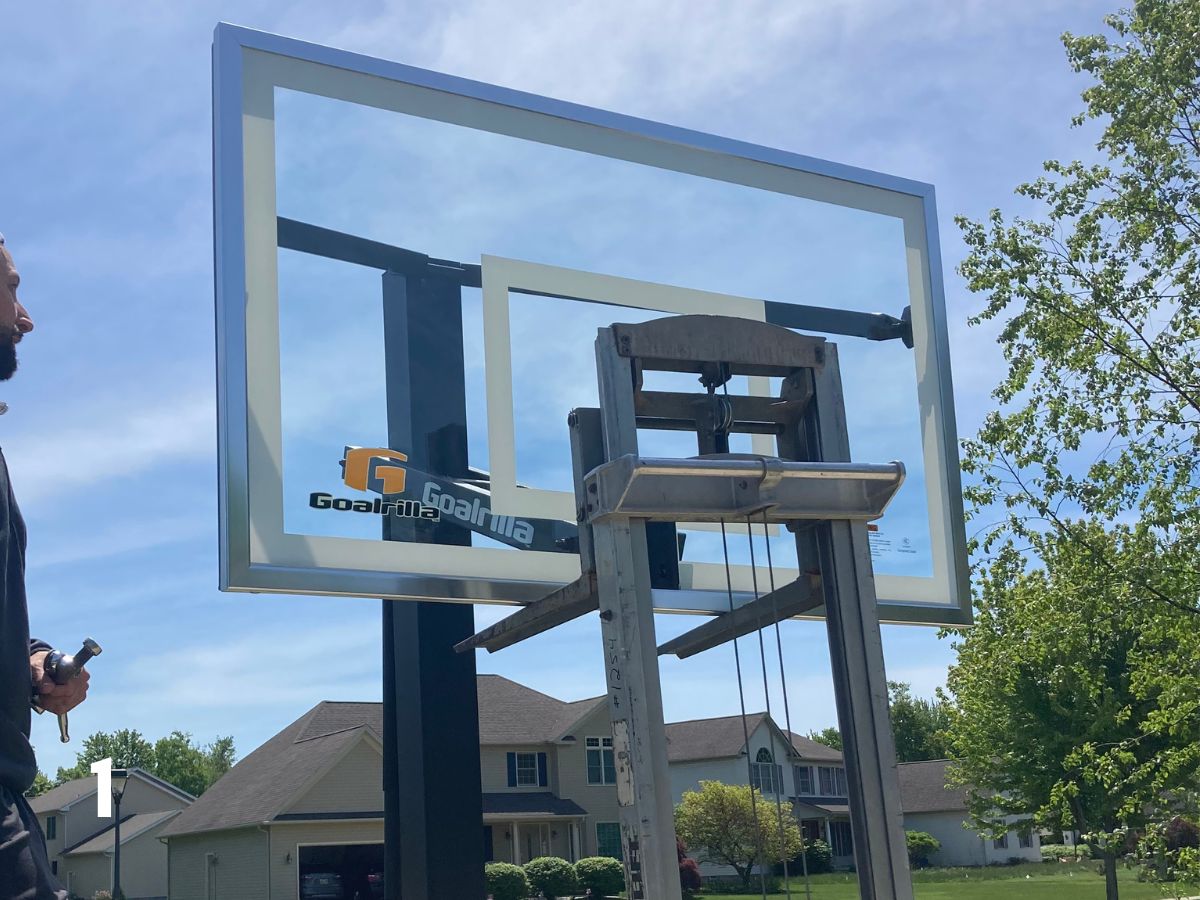
Using The Lift
When we installed our hoop, we had a few guys lift and hold the backboard. While we were able to do it, we don’t necessarily recommend it. For the second installation for my brother, a lift was used to assist in attaching the backboard with the assistance of a lift that was rented from a tool rental place for the afternoon.


Attaching The Board

Expert Tips
- When renting a towable auger, you will need a vehicle with a hitch to get it to your home. You could also rent a truck as well if needed. You may be able to find a company that will deliver one to you for your use.
- Take all safety precautions when working with the variety of tools and the weight of basketball systems during installation.
- Instead of spraying a curing agent, you could also wet cure it by placing an old damp towel (with water) and a piece of plastic over the concrete for a week.
- When building the forms, you can use 2 x 4s or 2 x 6s. If using 2 x 4s your pad will be 3 1/2″ deep. If using 2 x 6s, your concrete will be 5 1/2″ thick. The thicker your concrete is, the less chance it will have to crack.
Concrete Pad FAQs
If you don’t want to use a barrel mixer, you can mix the bags of concrete by hand in a wheelbarrow. This is time-consuming and harder, but doable.
Using a curing agent increases the certainty of the concrete reaching design strength. If you do not cure the concrete, you will have increased chances of cracking and lower PSI.
A medium level of difficulty in the processes used to install and hoop, but a very physically demanding DIY project.
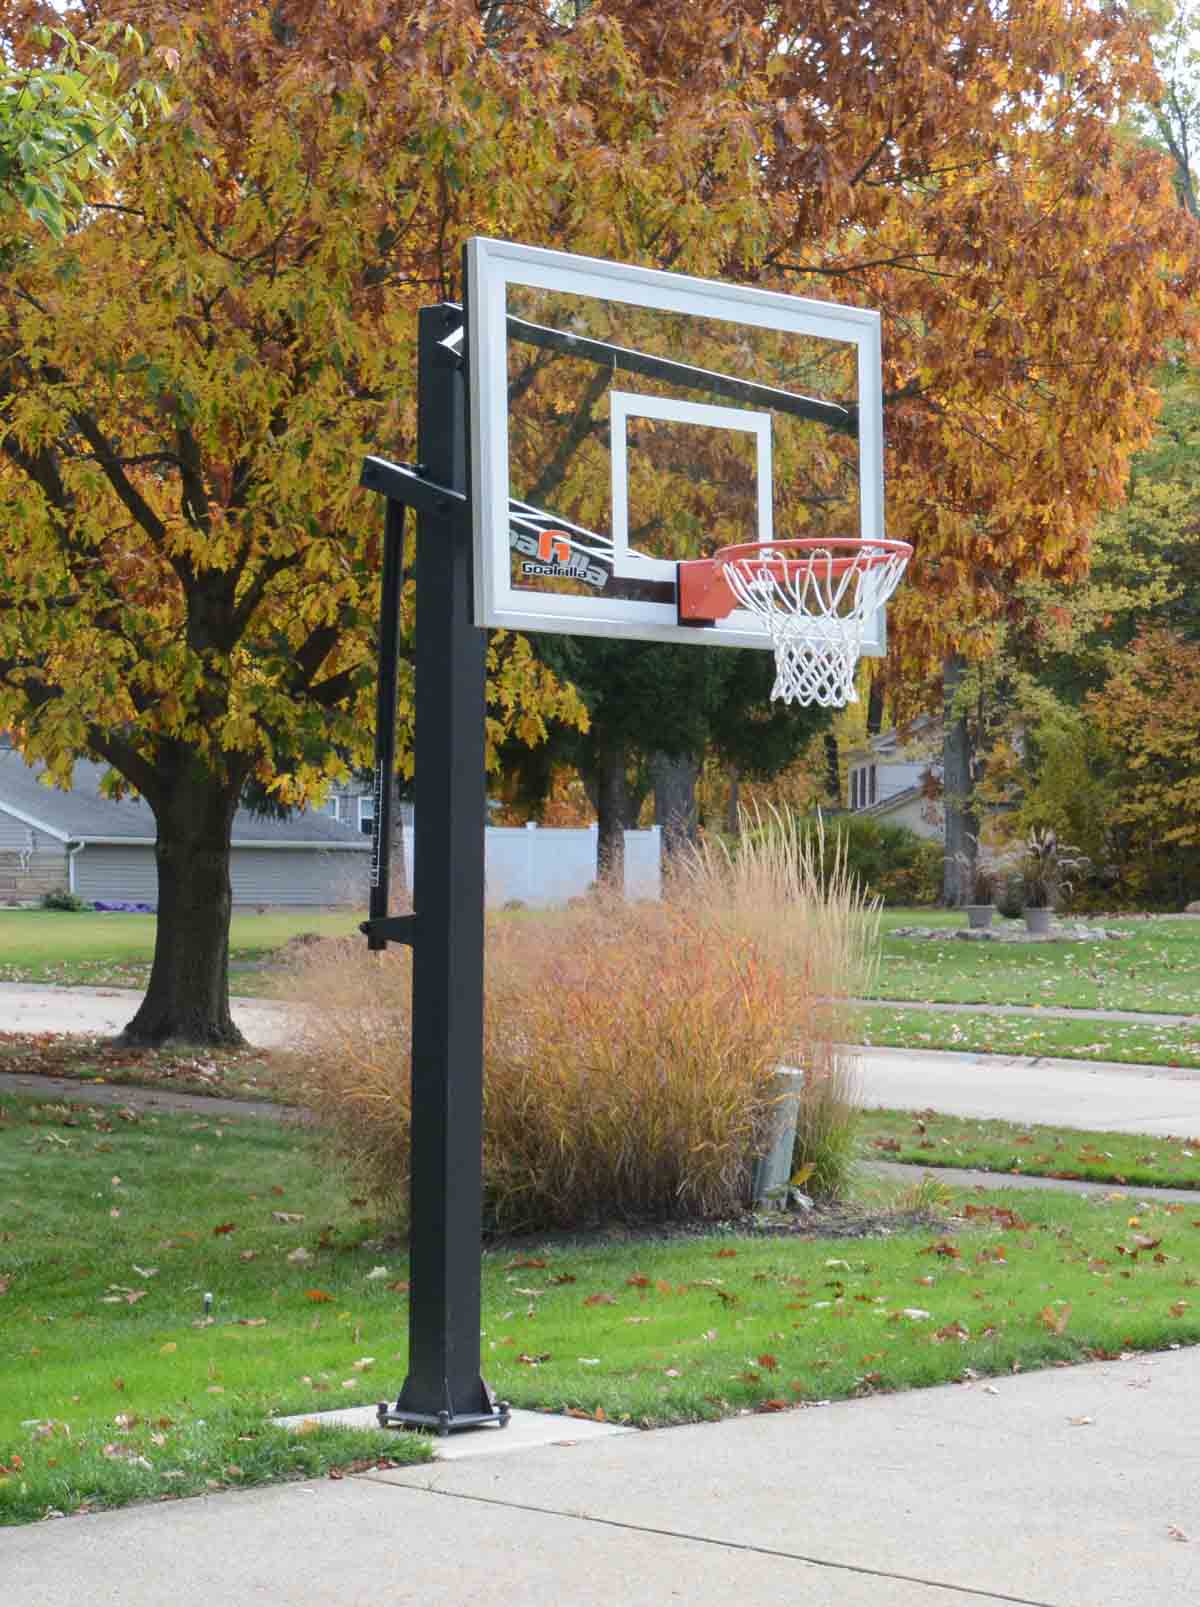
While it does take a lot of time and energy to install a basketball hoop, once it is done properly your family can practice their basketball skills for years to come. Say goodbye to those portable hoops as your family can make endless memories with your in-ground basketball goal.

If you like this tutorial, make sure to give it 5 stars below 🤩🤩🤩🤩🤩. It truly helps us continue bringing you more free and budget-friendly DIYs.

How To Install An In-Ground Basketball Hoop
Equipment
- Vehicle with a Hitch (if renting an auger)
- Towable auger
- Shovel (spade and flat)
- Post Hole Digger
- 2’ or 4′ level
- Tape Measure
- Wheelbarrow
- Garden Rake
- Barrel / Drum mixer (or mix by hand in a wheelbarrow)
- Sledge Hammer
- Claw hammer (Framing hammer)
- Garden hose
- Garden hose nozzle
- Extension cord
- Concrete float
- Broom
Recommended Supplies
- Basketball Hoop Ours is Gorilla 60" In-Ground Hoop
- 18 bags Bagged Concrete Mix 80-pound concrete mix
- Spray Paint
- 2x4s for top-side form
- Grass seed for later
- 6 Nail Stakes or wooden wedges
- Screws/nails
- Rebar usually included with the hoop
- Expansion joint for the edge of the driveway
- Access to water
- Curing Agent
Instructions
- Purchase your basketball hoop. Note that different hoops will have different specifications.
- Pick a location.Choose a flat area, ideally centered on your driveway.
- Contact your local utility protection service to mark underground lines.
Dig the Hole
- Follow the manufacturer's instructions for the hole's depth and diameter.
- Remove grass and topsoil in the marked area.
- Layout the form and mark the location.
- Use a rented auger for easier digging.
Pour Concrete Pad
- Check the hold and ensure the hole’s depth meets your hoop’s requirements.
- Level, stake, or secure the topside form.
- Mark the centerlines on the forms.
- Assemble forms and attach anchor bolt pattern/templates.
- Mix Quickcrete concrete bags and pour into the hole.
- Consolidate the concrete using vibration or a shovel.
- Follow the hoop's installation manual to insert rebar.
Finishing Concrete
- Smooth the concrete with a float.
- Create a “broom” finish for traction.
- Apply a concrete curing agent/sealer.
- Wait one week to allow the concrete to cure.
- Remove the 2x4s and fill edges with saved topsoil & seed.
Hoop Installation
- Follow the directions for basketball hoop installation (pole and backboard).
- Rent a lift to assist with backboard installation.
Notes
- When renting a towable auger, you’ll need a vehicle with a hitch.
- Prioritize safety with tools and the weight of the basketball system during installation.